Once the rage was all about taking a snapshot and getting the film developed fast so you could look at the picture. That’s part of the reason that Polaroid became so popular. But now that “instant” photos are just a digital click away on a cellphone, many are finding it fun to return to the “roots” and shoot using a 35mm film camera. Taken a step further, how much more fun can it be to actually “build” the camera yourself? Plenty of fun, it turns out, because the Konstruktor F Do-It-Yourself SLR Camera is designed to be as straightforward and sensible to assemble as any jigsaw puzzle. It is the best digital camera just like the one as Canon PowerShot G3 X – Best Point and Shoot Digital Camera for those who like puzzles.
See also the best DSLR camera.
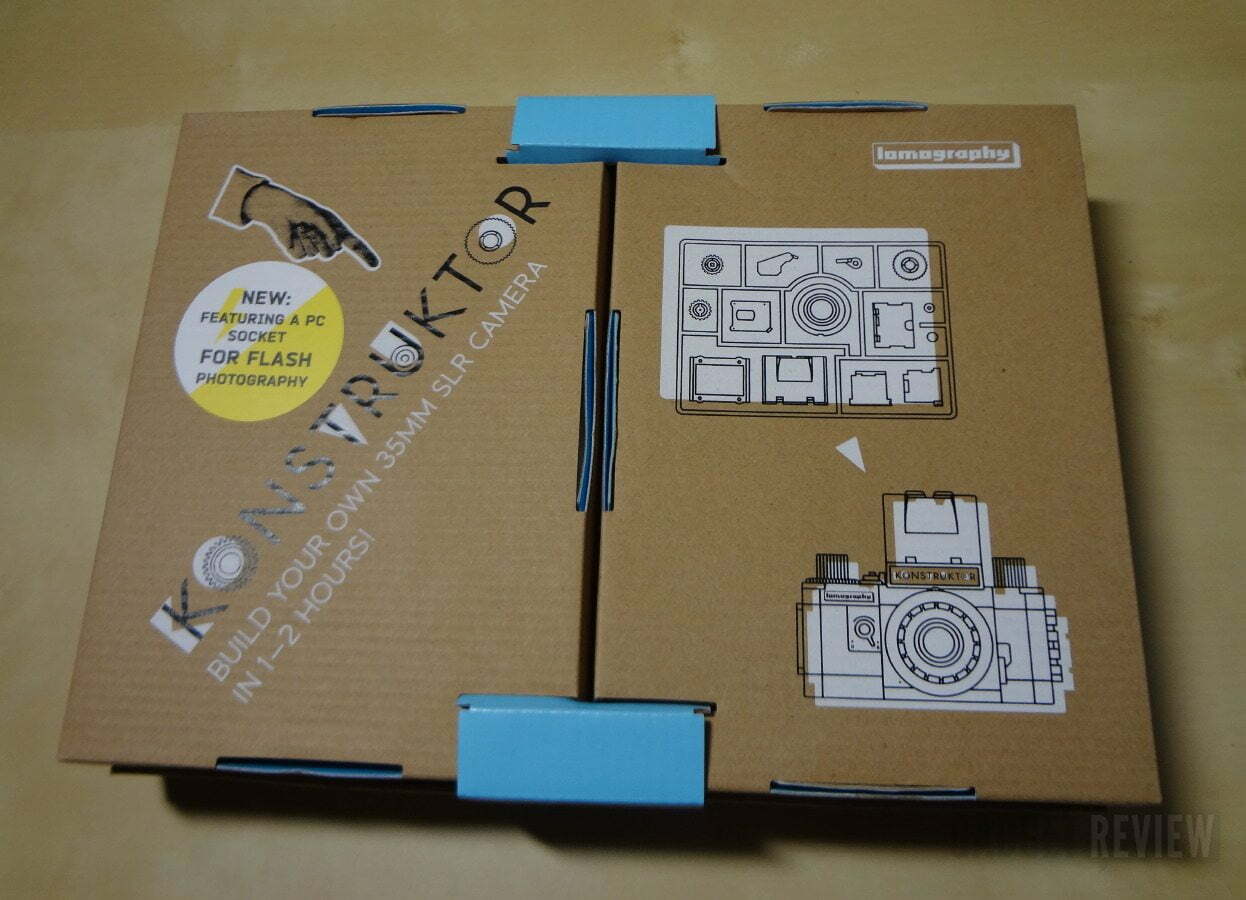
Let’s start with the obvious: the camera parts are made from plastic and requires a basic tool (jeweler’s screwdriver, which is provided) plus patience to follow the easily understood instructions that come in a multilingual booklet. Parts fit together and are held in place with screws and other locking components — don’t worry, nothing is going to be “glued.” Some of the more involved pieces (like springs) come in their own box to avoid being confused about — it’s a well designed and informative box that holds everything securely until you need to get at it.
Related: If you prefer well-known brands and like to keep things simple, check out our Canon EOS Rebel T6i review.
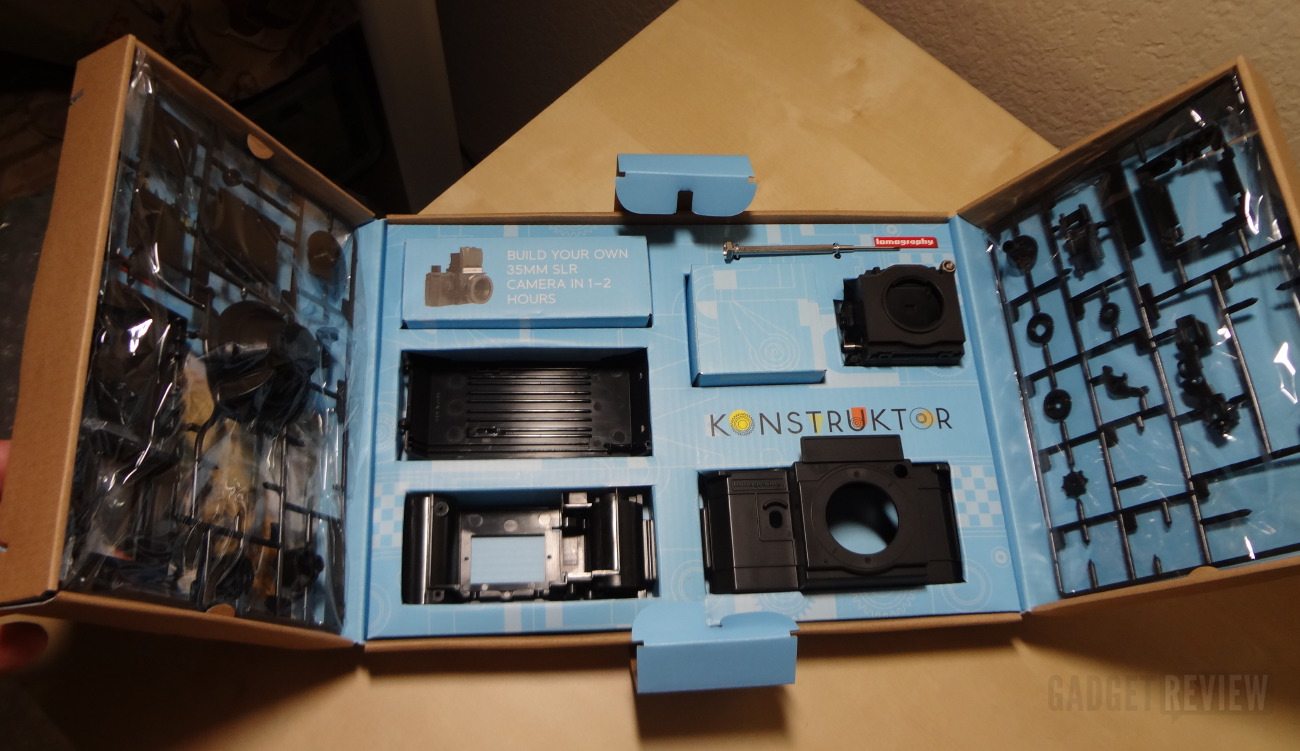
The signage says “1-2 hours” to complete — I say take your time and treat the parts with the same respect as you would have an Aurora model kit of Spider-Man back from the 70′s. I followed my own advise and was able to complete the assembly in a little over 2 hours — taking my time and enjoying the process was as much fun as the finished product was expected to be. Here’s a hint: go buy the 35mm film before you start to put the camera together — the feeling of opening the camera back and inserting the film in the film well and then running it across to the take up well and then closing the back and cranking the wheel to ready the first shot: that’s going to feel pretty good. Especially since you’ll remember just how difficult it was for those with big fingers, such as myself, to properly handle and assemble the lens (the most trying part of the whole DIY experience for me). Being nearsighted really helps here, as does having a strong light and a clean surface with plenty of room to work in. This DIY camera, once assembled, has many features, including a twin-lens reflex viewfinder, tripod mount, a knob film advance mechanism, and more.
Related: Also check out our Pentax K-S2 DSLR review.
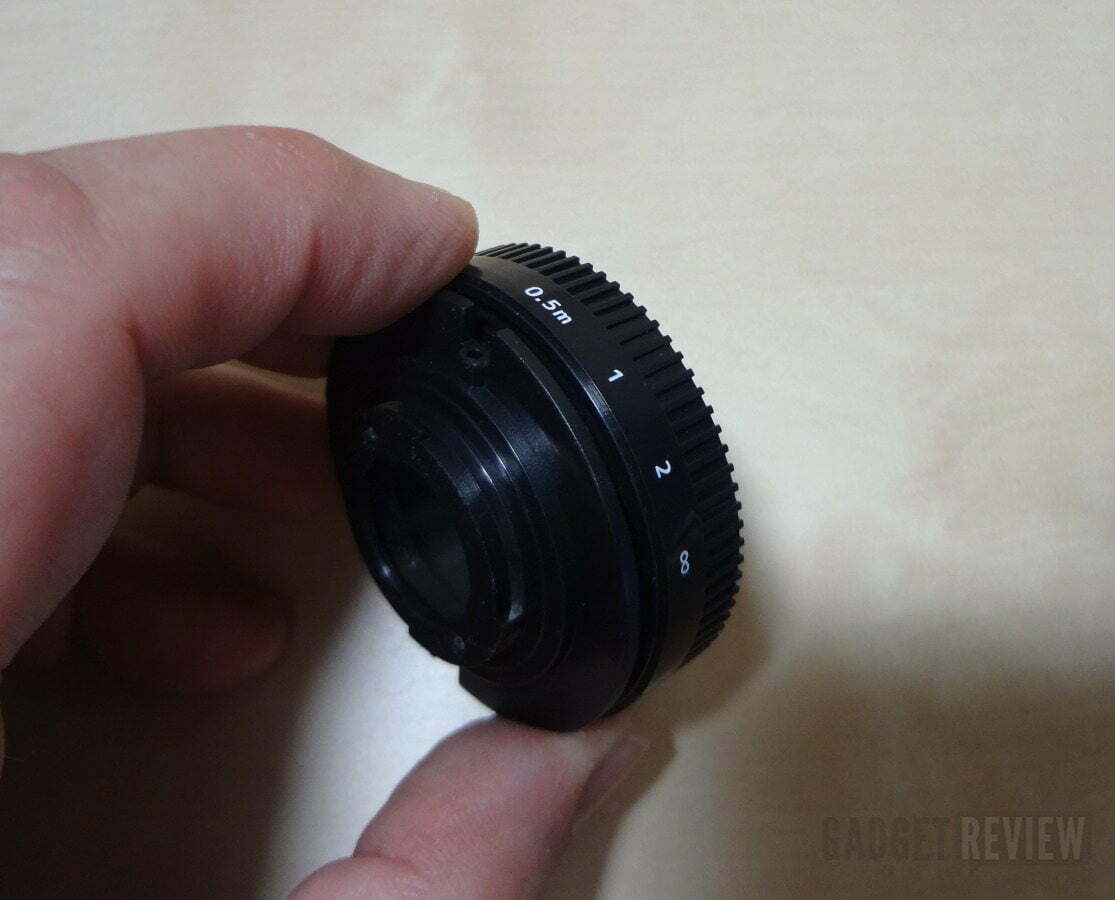
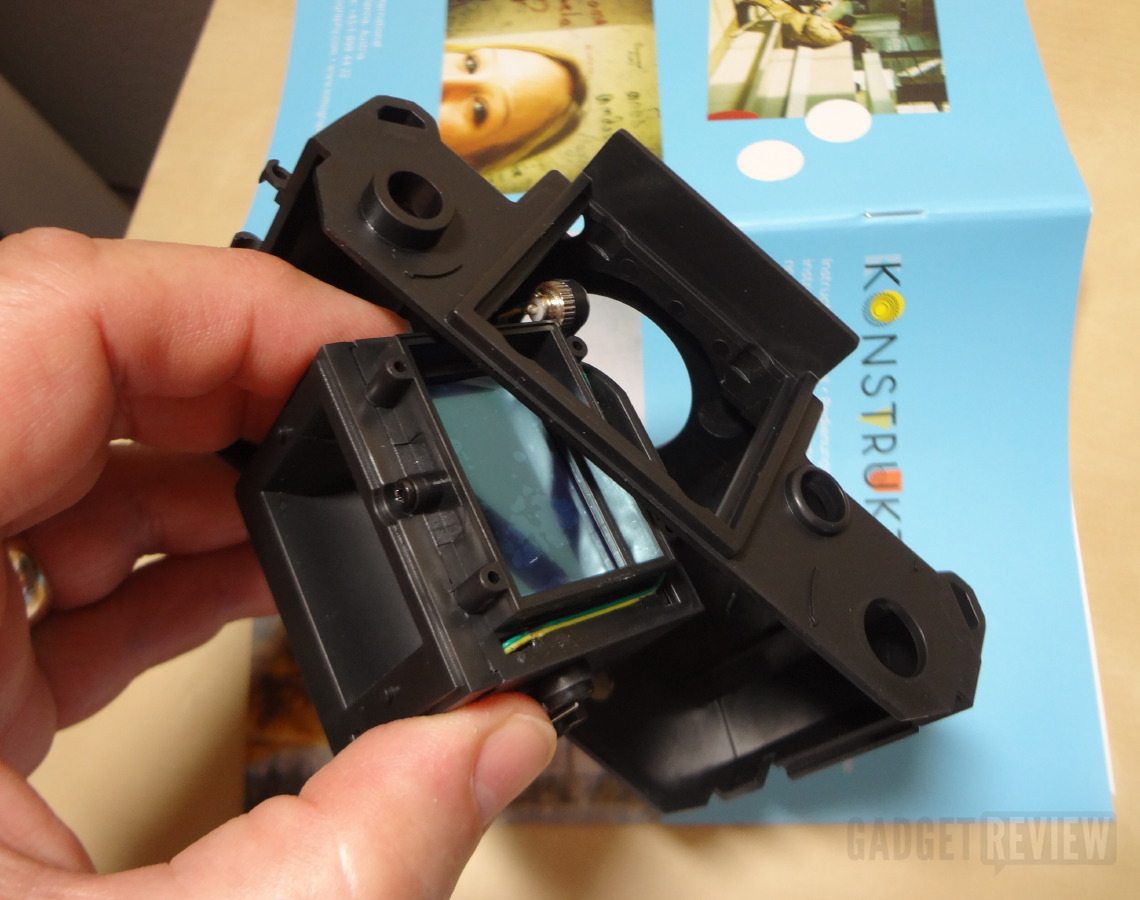
You’d think that $39.00 wouldn’t buy you much more than the most basic of cameras — but boy is that assumption wrong. Sure the lens is plastic, non precision-honed optical glass, but the 50mm f/10 lens (requiring plenty of light indoors or highly sensitive film) allows for manual focus (.5 meters through 2 meters to Infinity) and is detachable just like SLR (single-lens reflex) camera are supposed to be. And no looking through a “hole” in the camera either: the top opens up to display a top-down view of what the lens is actually seeing (granted that’s more expected in a larger than 35mm camera but…) And of course the normal controls for taking a picture are added to with multiple exposure control and a “bulb” setting that allows for an exposure to last until the shutter is released (this being originally designed for use with flashbulbs). Yes it will take a moment or three to get used to the slightly different procedure for preparing the camera to take take a picture, because it’s not just a simple “wind and look through the viewfinder.” But as a reward, remember that the camera is also designed for using flash…
…So of course the Konstruktor Flash Accessory kit is available (to provide a “hot-shoe” adapter, a DIY flash bracket, adapter cable for use with Fritz the Blitz (another item from Lomography) and an actual strobe type flash. Again, everything is detailed and explained for making the assembly straightforward. Put it together independently of the camera, but if you can’t wait — go ahead and do it right after the camera is finished and you’re all fired up!
Bottom line: The Konstruktor F camera works best in strong sunlight, although careful shooting will result in good images even in shaded areas as well (partly this depends on the speed of the film too). And of course you can always use a flash to “pump” up the available light. Though you’ll need to put together the flash and camera kit to be able to use the camera with flash. It might take a bit to get used to focusing the lens while looking “down” to see what is being previewed, but after a bit “muscle memory” will take over.And if you can manage to contain yourself from opening the box, reminiscent of those Porter Chemistry Kit metal cases – at least to me, and disassembling the parts, then the Konstruktor F becomes one very cool gift for someone too young to have known what film processing was all about, but “gets” that there’s more to retro than just turning to vinyl for listening to music. Then, of course, you can always gift yourself too. If you enjoyed our Lomography Konstruktor F is the Best Do-It-Yourself SLR Camera Review or found it helpful, be sure to check out our other product reviews, from more toy cameras and DSLRs to point-and-shoots and many more.
Related Articles:
![10 Best Binocular Cameras in [year] 1 best binocular camera](https://www.gadgetreview.dev/wp-content/uploads/best-binocular-camera-image-300x200.jpg)

![Best Canon DSLR in [year] ([month] Reviews) 3 The top Canon DSLR cameras.||Intermediate and entry-level photographers will appreciate this mid-level DSLR offering from Canon](https://www.gadgetreview.dev/wp-content/uploads/best-canon-dslr-300x165.jpg)

![Best DSLR Camera for Beginners in [year] 5 Top DSLR Camera for Beginners|The Canon T6i DSLR offers many features for beginners.|The Nikon D3300 DSLR offers plenty of resolution for someone new to DSLR photography.|An articulated LCD](https://www.gadgetreview.dev/wp-content/uploads/best-dslr-camera-beginners-featured.jpeg)

3 responses to “Post Title”