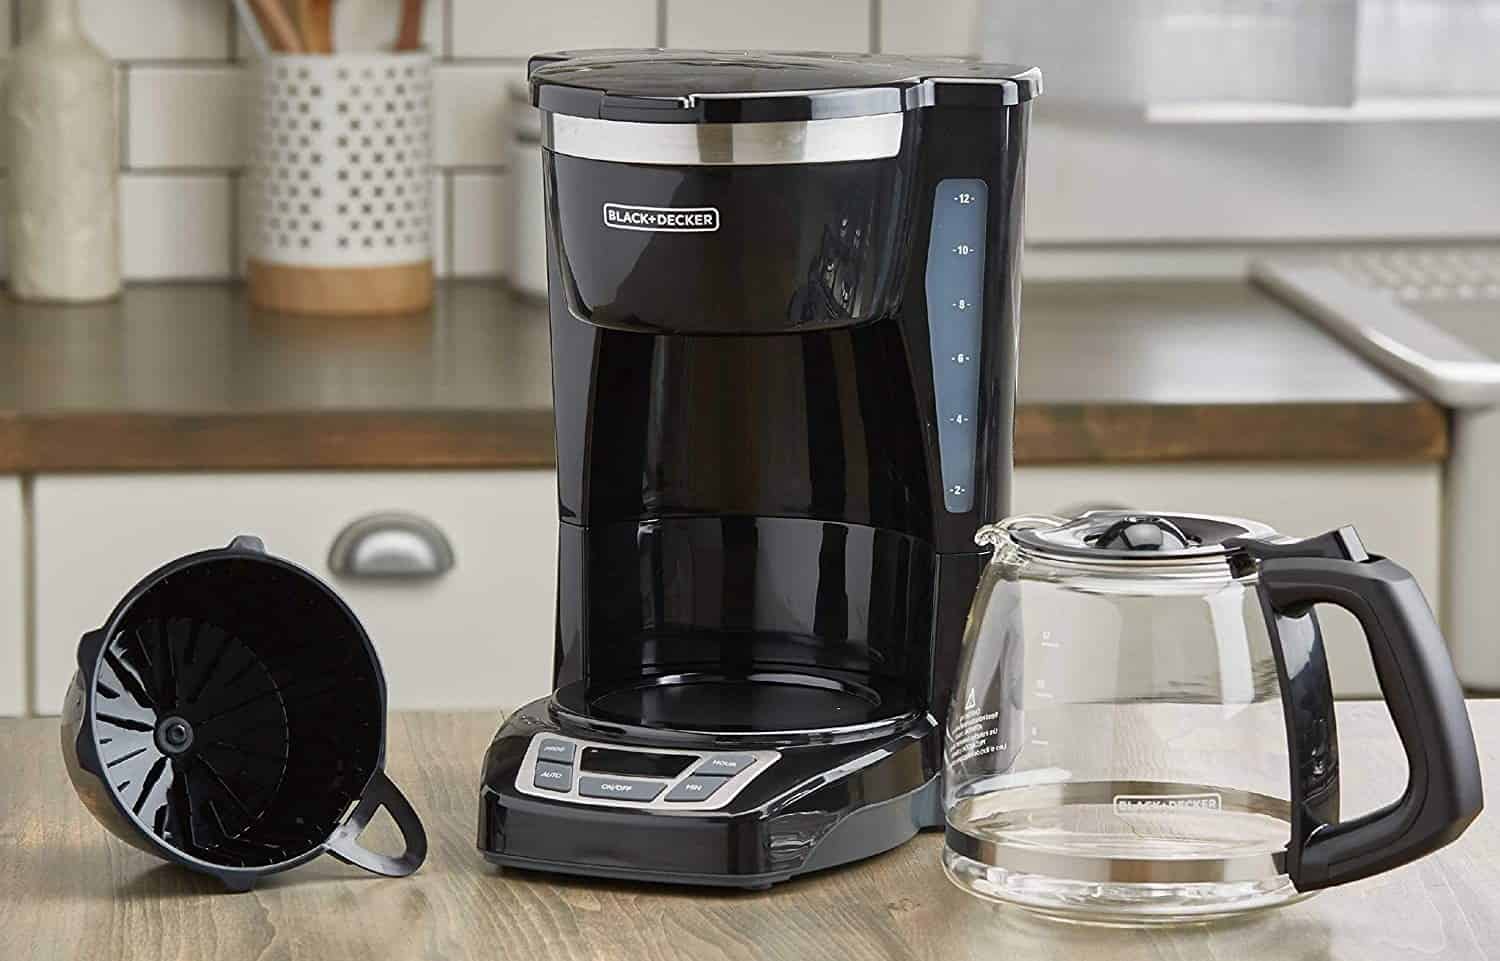
You may encounter several issues that cause you to think, “how do I fix my coffee maker?” The simplest ones resolve themselves after you descale your machine occasionally. However, some of these problems require more effort on your part to fix your best coffee maker.
KEY TAKEAWAYS:
- You may experience a clog in the tubes or valve of your coffee machine that can be easily repaired by descaling your device.
- If you still have trouble with slow brewing or leaking, you should take a more involved approach, which requires a screwdriver, your coffee maker, and water.
- This method for unclogging your tube or valve should only take about 20 minutes.
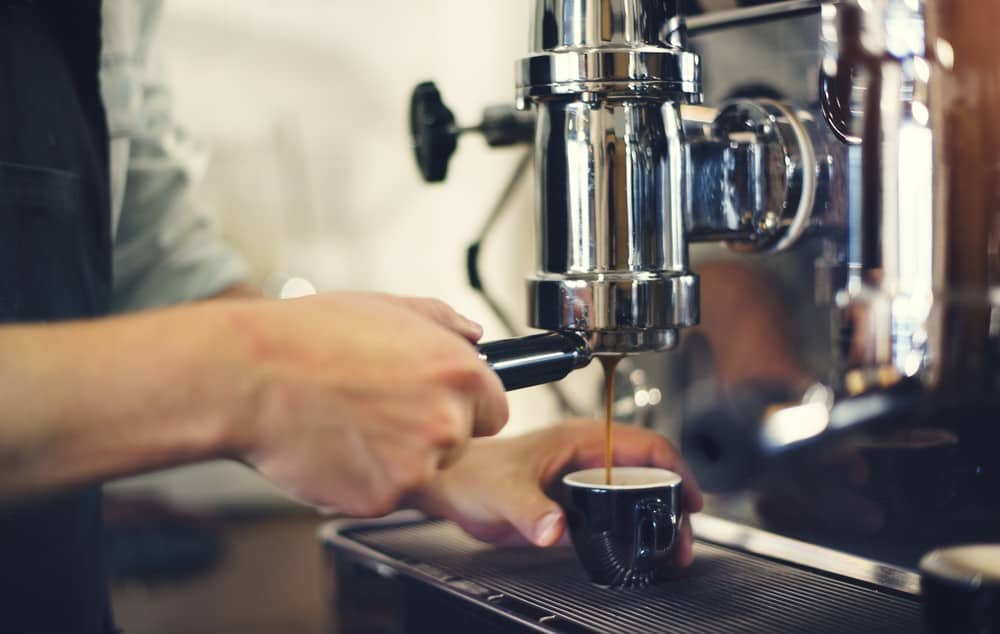
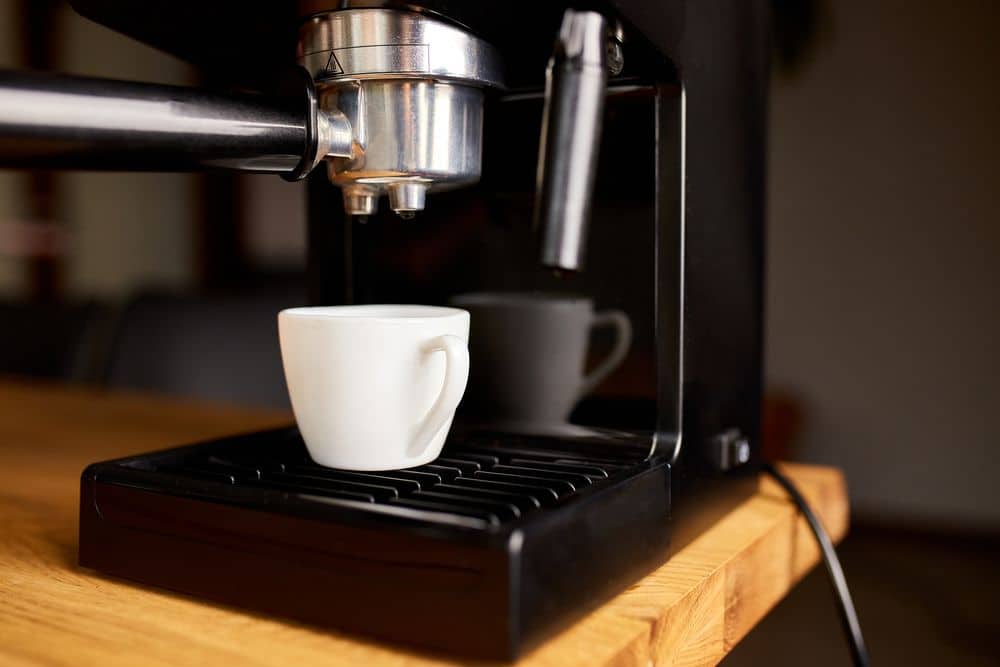
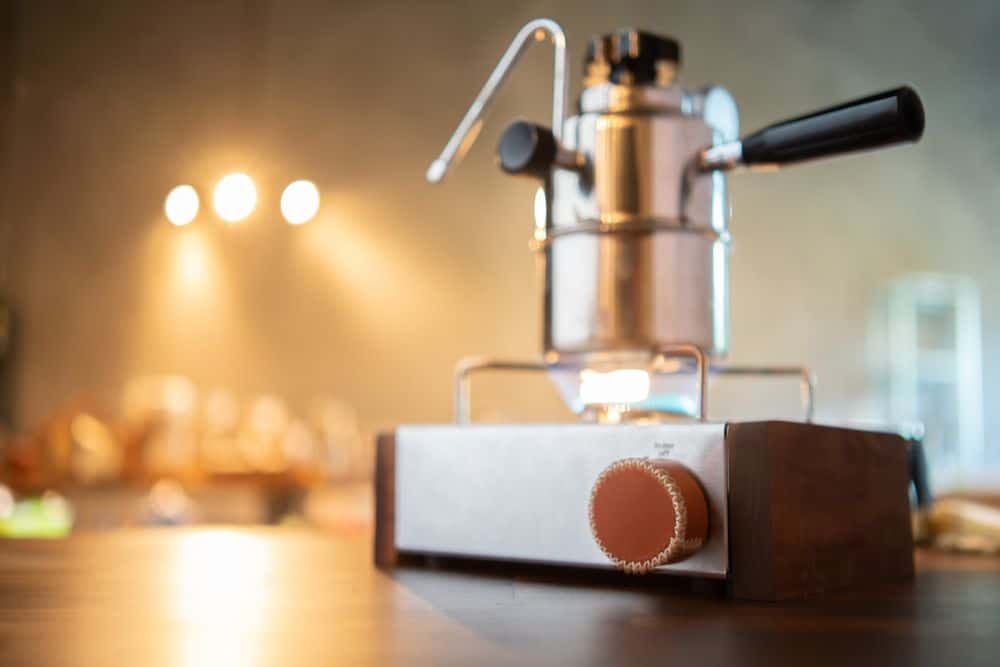
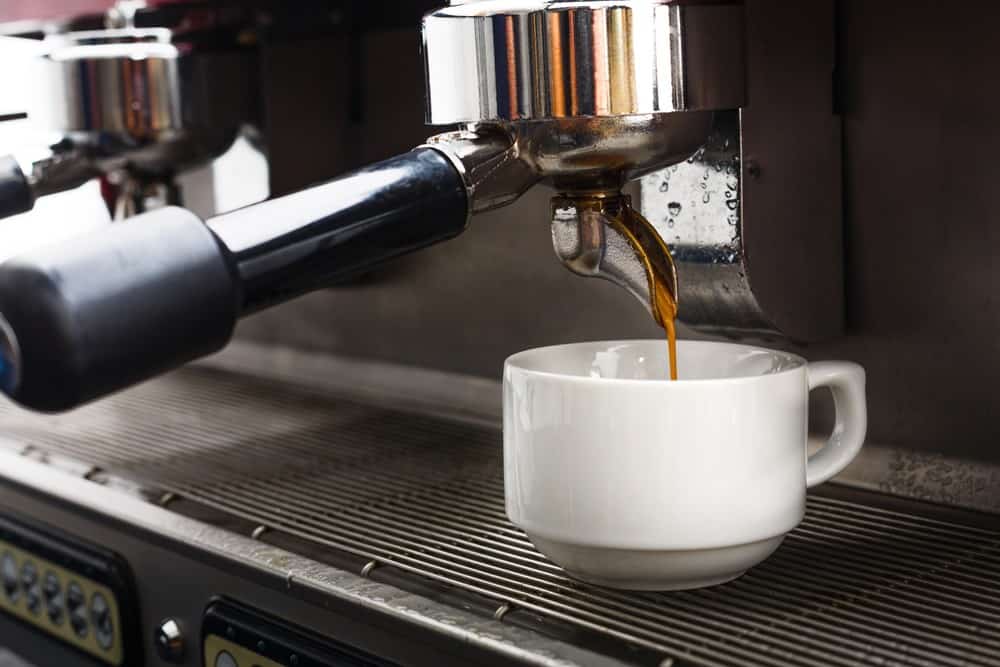
If you experience issues with leakage on the bottom of your device, you may need to replace the cold water reservoir or unclog the tubing or valve. To understand the effect of clogging, you should learn how do espresso coffee makers work. Clogs can occur in both standard drip coffee machines and espresso coffee makers.
Fixing a Coffee Machine
Before attempting to repair your coffee maker by taking it apart, you should consider descaling your appliance. This process involves running citric acid, vinegar, or chemical descaler through your machine.
Insider Tip
You may need to pull the tube containing the valve out of the machine to loosen any clogs.
If you have tried descaling the coffee machine and it didn’t work, you may have a substantial clog that means you have to access the tube and one-way valve to clear the line. To learn more about this process, read on. You may also be interested in finding out how do I use my French press.
Unclogging the Valve
- Try descaling the coffee maker. Descaling involves filling your water reservoir partway with vinegar. Then, dilute it using water to fill it the rest of the way. Run a half brew cycle and let sit without emptying for about a half-hour. Then, complete the brew cycle. Next, rinse your coffee carafe and fill the water tank with cold water. Run it several more times to eliminate the vinegar flavor and smell.
- Unplug your coffee maker model. By doing this step, you help protect yourself from electrocution once you start unscrewing your containers.
- Empty the filter compartment and the water reservoir. You want to reduce the chance of contaminating another part of the coffee maker during this process. Just as dust contaminates other products during repairs, ground coffee beans may do the same to your coffee maker.
- Remove the bottom cover of the coffee maker. You may have to unscrew several connections to access the tubing and wiring inside. You shouldn’t worry too much about the wiring because those issues should be handled by a trained service professional. The tubing is what you want.
- Unsecure the bar supporting the heating element and water tubes. This bar should only have two screws securing it, though some larger models may have more. You won’t need to do anything with the aluminum heating element or another metal heater.
- Remove the fastener clips. These clips can be found on the tube’s sides that carry the water from the reservoir to the heating element and back up the machine.
- Disconnect the tube containing the ball valve positioned below the water tank. This one-way valve prevents water from backing up into the water reservoir. Remove the tube with the valve to thoroughly clean it using water.
- Replace the tube with the valve and retrace your steps. If you were unable to descale your machine, make sure you do so now. Then, check if your brewer works properly. If you still have trouble, you may need to call a service center.
Warning
Your coffee machine may need to be taken to a service center if this process does not help.
F.A.Q.S
How many times should I run vinegar through my coffee maker?
You should run vinegar through your coffee machine once a month to reduce limescale and mineral build-up.
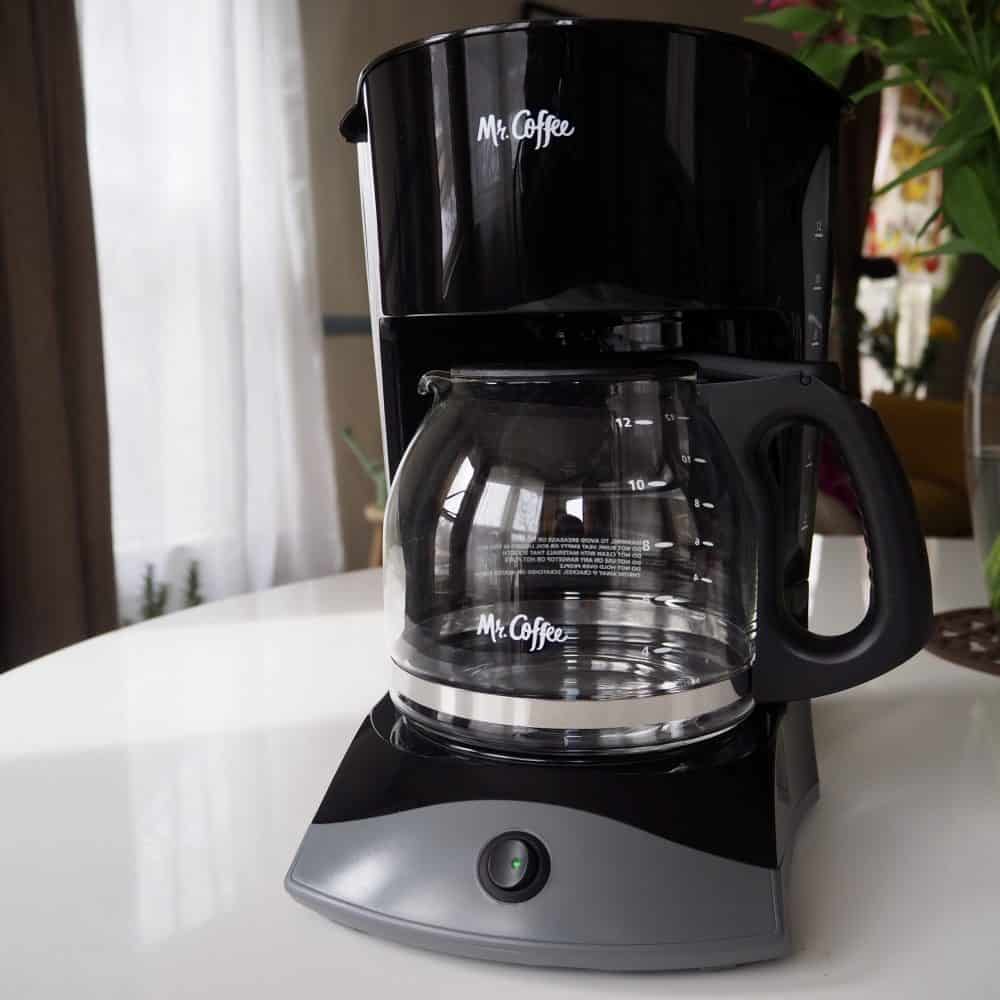
Why does my Mr. Coffee leak from the bottom?
You may have mineral build-up or a clog inside the tubing of your coffee machine. The method outlined above should help with these issues.
How do I use the delay brew function?
You prepare your coffee machine as you would to brew right away. Then, set the timer and let the brewer do the rest for you. If you need more specific instructions, you should look in your user’s manual or on the manufacturer’s website.
STAT: Do not fill the water tank beyond the maximum indicator to prevent it from overflowing. Too much water can result in excess water ending up at the bottom of your SENSEO® Coffee Machine. (source)
REFERENCES:
- https://support.keurig.com/?kmContentId=1014735&page=shell&shell=knowledge-article
- https://producthelp.kitchenaid.com/Countertop_Appliances/Coffee_Products/Product_Info/Coffee_Product_Tips_and_Tricks/Coffee_Maker_Leaking
- https://www.usa.philips.com/c-t/XC000001260/my-senseo%C2%AE-coffee-machine-is-leakingr
- https://www.youtube.com/watch?v=vkx4tUkmQxU
- https://www.youtube.com/watch?v=N2ZK1i3vNaQ




![Best Keurig Alternatives in [year] 27 Best Keurig Alternatives in 2025](https://www.gadgetreview.dev/wp-content/uploads/best-keurig-alternative-image.jpg)
![Best Semi Automatic Espresso Machines in [year] 28 Best Semi Automatic Espresso Machines in 2025](https://www.gadgetreview.dev/wp-content/uploads/best-semi-automatic-espresso-machine-image.jpg)
![Best Coffee and Espresso Makers in [year] 29 Best Coffee and Espresso Makers in 2025](https://www.gadgetreview.dev/wp-content/uploads/best-coffee-and-espresso-maker-image.jpg)
![Best Kitchen Appliances in [year] ([month] Reviews) 30 Best Kitchen Appliances in 2025 (April Reviews)](https://www.gadgetreview.dev/wp-content/uploads/best-kitchen-appliances.jpg)
![Quietest Coffee Makers in [year] 31 Quietest Coffee Makers in 2025](https://www.gadgetreview.dev/wp-content/uploads/quietest-coffee-maker-image.jpg)
![Best Prosumer Espresso Machines in [year] 32 Best Prosumer Espresso Machines in 2025](https://www.gadgetreview.dev/wp-content/uploads/71ytF6efAlL._AC_SL1500_.jpg)
![Best Single Serve Coffee Maker No Pods in [year] 33 Best Single Serve Coffee Maker No Pods in 2025](https://www.gadgetreview.dev/wp-content/uploads/best-k-pod-coffee-image-1.jpg)
![Best Coffee Makers for Hard Water in [year] 34 Best Coffee Makers for Hard Water in 2025](https://www.gadgetreview.dev/wp-content/uploads/best-coffee-maker-for-hard-water-image.jpg)
![Best Dual Boiler Espresso Machines in [year] 35 Best Dual Boiler Espresso Machines in 2025](https://www.gadgetreview.dev/wp-content/uploads/best-dual-boiler-espresso-machine-image.jpg)
![Best Commercial Espresso Machine for a Small Coffee Shop in [year] 36 Best Commercial Espresso Machine for a Small Coffee Shop in 2025](https://www.gadgetreview.dev/wp-content/uploads/best-commercial-espresso-machine-small-coffee-shop-image.jpg)
![Best Coffee for Moka Pot in [year] 37 Best Coffee for Moka Pot in 2025](https://www.gadgetreview.dev/wp-content/uploads/best-coffee-for-moka-pot-image.jpg)
![Best USA Made Coffee Makers in [year] 38 Best USA Made Coffee Makers in 2025](https://www.gadgetreview.dev/wp-content/uploads/best-usa-made-coffee-makers-image.jpg)
![Fastest Coffee Makers in [year] 39 Fastest Coffee Makers in 2025](https://www.gadgetreview.dev/wp-content/uploads/fastest-coffee-maker-image.jpg)
![Best SCAA Certified Coffee Makers in [year] 40 Best SCAA Certified Coffee Makers in 2025](https://www.gadgetreview.dev/wp-content/uploads/best-scaa-certified-coffee-maker-image.jpg)
![Best Smart Coffee Makers in [year] 41 Best Smart Coffee Makers in 2025](https://www.gadgetreview.dev/wp-content/uploads/best-smart-coffee-maker-image.jpg)
![Best Coffee Makers for RV in [year] 42 Best Coffee Makers for RV in 2025](https://www.gadgetreview.dev/wp-content/uploads/best-coffee-maker-for-rv-image.jpg)
![Best Ninja Coffee Makers in [year] 43 Best Ninja Coffee Makers in 2025](https://www.gadgetreview.dev/wp-content/uploads/best-ninja-coffee-maker-image.jpg)
![Best Breville Espresso Machines in [year] 44 Best Breville Espresso Machines in 2025](https://www.gadgetreview.dev/wp-content/uploads/best-breville-espresso-machine-image.jpg)
![Best 5 Cup Coffee Makers in [year] 45 Best 5 Cup Coffee Makers in 2025](https://www.gadgetreview.dev/wp-content/uploads/best-5-cup-coffee-maker-image.jpg)
![Best Commercial Coffee Makers in [year] 46 Best Commercial Coffee Makers in 2025](https://www.gadgetreview.dev/wp-content/uploads/best-commercial-coffee-maker-image.jpg)
