If you are trying out the various features of your wireless network, you may wonder how to change channels on a router. The best routers, after all, do not need to be tied to a particular channel. So why would you want to change channels on a router and how to do it? Keep reading to find out.
KEY TAKEAWAYS:
- Changing Wi-Fi channels is a necessity once in a while, especially if you are using the 2.4GHz network GHz band and you are noticing congestion.
- Start the process by accessing your router’s admin panel or settings page by putting your router’s public IP address into a web browser’s address bar.
- Once in the settings, look for WiFi channels in a drop-down menu and change to an optimal channel for your needs.
Why Change Channels on a Router?
There are many reasons why you’d want to change wireless channels on a router, including network congestion. Basically, the 2.4GHz band only has 12 usable channels, though the 5GHz band has around 100. Generally speaking, when using 2.4GHz you want to be on channels 1, 6, or 12. If you notice congestion, you’ll have to change the channel, especially if you are learning how to connect two WiFi routers together wirelessly.
Insider Tip
If you are using 2.4GHz, the channels 1, 6, and 11 are nearly always your preferred choices.
How Do I Change Channels on my Router?
This process differs according to the make and model of your router, so we have kept this guide as universal as possible. Still, changing wireless channels on a router is fairly simple, and the same cannot be said of some processes, such as learning how to turn an old router into an access point.
- Difficulty: Moderate
- Time: 5 minutes
- Tools: Computer, router, modem, Ethernet cable
- Steps: 4
STEP 1
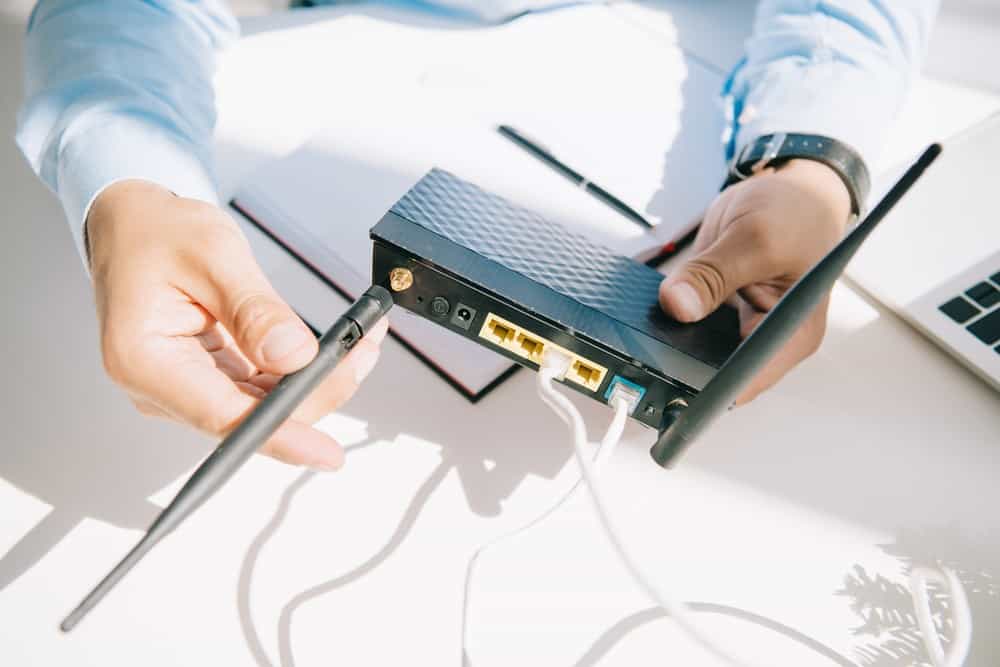
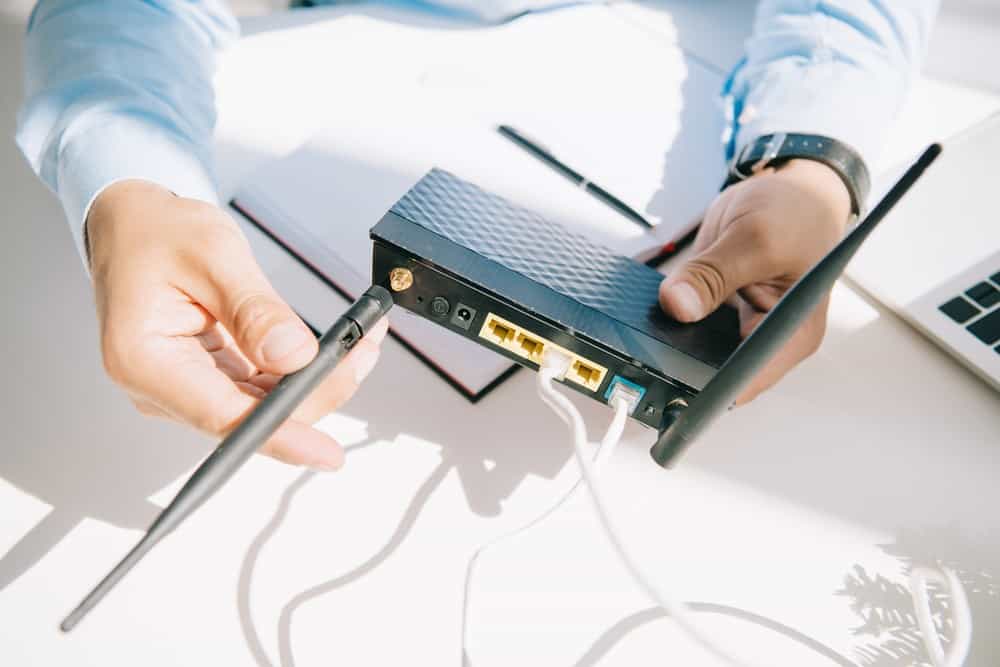
Check to ensure that you have a valid Internet connection and that everything is running smoothly. Your router should be connected via Ethernet cable to your satellite modem or cable modem. Your modem should be broadcasting a decent Internet signal and your router should be wirelessly transmitting that signal to all of your beloved devices.
STEP 2
Access your router’s settings via whatever methods are indicated in your instructions. This varies from router to router, so check the instruction manual if you have them or perform a quick web search
STEP 3
These settings are typically accessed by entering your router’s public IP address in a web browser address bar. The public IP address is often labeled somewhere on the router itself. You can also use firmware for this task or a dedicated mobile device app.
STEP 4
Look for a settings adjustment point regarding wireless channels. You should be able to change the channel manually. Afterward, save your changes and restart the router.
F.A.Q.S
How can I see which Wi-Fi channels are busy and free?
There are certain apps that analyze Wi-Fi channels to see which are busy and which are free. One is called Wi-Fi Analyzer and it is extremely popular when it comes to channel selection.
Why channels 1,6, and 11?
When it comes to the 2.4 GHz band, channels 1,6, and 11 are the best because they are the furthest away from one another. Wi-Fi channels spaced too close together can cause congestion with your wireless router.
How to find the best WiFi channel?
There is no best when it comes to channel selection. There is just busy and free. Find whatever channel is free in your preferred GHz band.
STAT: Most WiFi routers these days broadcast data using the 2.4 GHz and 5 GHz frequency bands. Each of these bands is divided up into channels that are used to send and receive data over your WiFi network. (source)
REFERENCES:
- https://www.hellotech.com/guide/for/how-to-change-wifi-channel-on-router
- https://www.xfinity.com/support/articles/change-wifi-mode-admin-tool-xfinity-xfi
- https://kb.netgear.com/23783/How-do-I-change-the-wireless-channel-on-my-NETGEAR-routerr
- https://www.centurylink.com/home/help/internet/modems-and-routers/modem-status/find-best-wifi-channel.html
- https://www.tp-link.com/us/support/faq/2292/






![Best BenQ Monitors in [year] 27 Best BenQ Monitors in 2025](https://www.gadgetreview.dev/wp-content/uploads/best-benq-monitor-image.jpg)
![Best Wifi Extenders For FiOS in [year] 28 Best Wifi Extenders For FiOS in 2025](https://www.gadgetreview.dev/wp-content/uploads/best-wifi-extender-for-fios-image.jpg)
![Best Fiber Optic Routers in [year] 29 Best Fiber Optic Routers in 2025](https://www.gadgetreview.dev/wp-content/uploads/best-fiber-optic-router-image.jpg)
![Best Routers for 200Mbps in [year] 30 Best Routers for 200Mbps in 2025](https://www.gadgetreview.dev/wp-content/uploads/best-router-for-200mbps-image.jpg)
![Best VoIP Routers in [year] 31 Best VoIP Routers in 2025](https://www.gadgetreview.dev/wp-content/uploads/best-voip-router-image.jpg)
![Best Routers for Optimum in [year] 32 Best Routers for Optimum in 2025](https://www.gadgetreview.dev/wp-content/uploads/best-router-for-optimum-image.jpg)
![Best Routers for Apple in [year] 33 Best Routers for Apple in 2025](https://www.gadgetreview.dev/wp-content/uploads/best-router-for-apple-image.jpg)
![Best Routers for Frontier FIOS in [year] 34 Best Routers for Frontier FIOS in 2025](https://www.gadgetreview.dev/wp-content/uploads/best-router-for-frontier-fios-image.jpg)
![Best Secure Routers in [year] 35 Best Secure Routers in 2025](https://www.gadgetreview.dev/wp-content/uploads/best-secure-router-image.jpg)
![Best Routers for Google Fiber in [year] 36 Best Routers for Google Fiber in 2025](https://www.gadgetreview.dev/wp-content/uploads/best-router-for-google-fiber-image.jpg)
![Best Routers for Cox in [year] 37 Best Routers for Cox in 2025](https://www.gadgetreview.dev/wp-content/uploads/best-router-for-cox-image.jpg)
![Best Asus Routers in [year] 38 Best Asus Routers in 2025](https://www.gadgetreview.dev/wp-content/uploads/best-asus-routers-image.jpg)
![Best Linksys Routers in [year] 39 Best Linksys Routers in 2025](https://www.gadgetreview.dev/wp-content/uploads/best-linksys-routers-image.jpg)
![Best Routers for CenturyLink in [year] 40 Best Routers for CenturyLink in 2025](https://www.gadgetreview.dev/wp-content/uploads/best-router-for-centurylink-image.jpg)
![Best WiFi Routers for Multiple Devices in [year] 41 Best WiFi Routers for Multiple Devices in 2025](https://www.gadgetreview.dev/wp-content/uploads/best-wifi-router-for-multiple-devices-image.jpg)
![Best Wired Routers in [year] 42 Best Wired Routers in 2025](https://www.gadgetreview.dev/wp-content/uploads/best-wired-router-image.jpg)
![Best Routers for 4K Streaming in [year] 43 Best Routers for 4K Streaming in 2025](https://www.gadgetreview.dev/wp-content/uploads/best-router-for-4k-streaming-image.jpg)
![Best Cisco Routers in [year] 44 Best Cisco Routers in 2025](https://www.gadgetreview.dev/wp-content/uploads/best-cisco-routers-image.jpg)
![Best eero Routers in [year] 45 Best eero Routers in 2025](https://www.gadgetreview.dev/wp-content/uploads/best-eero-routers-image.jpg)
