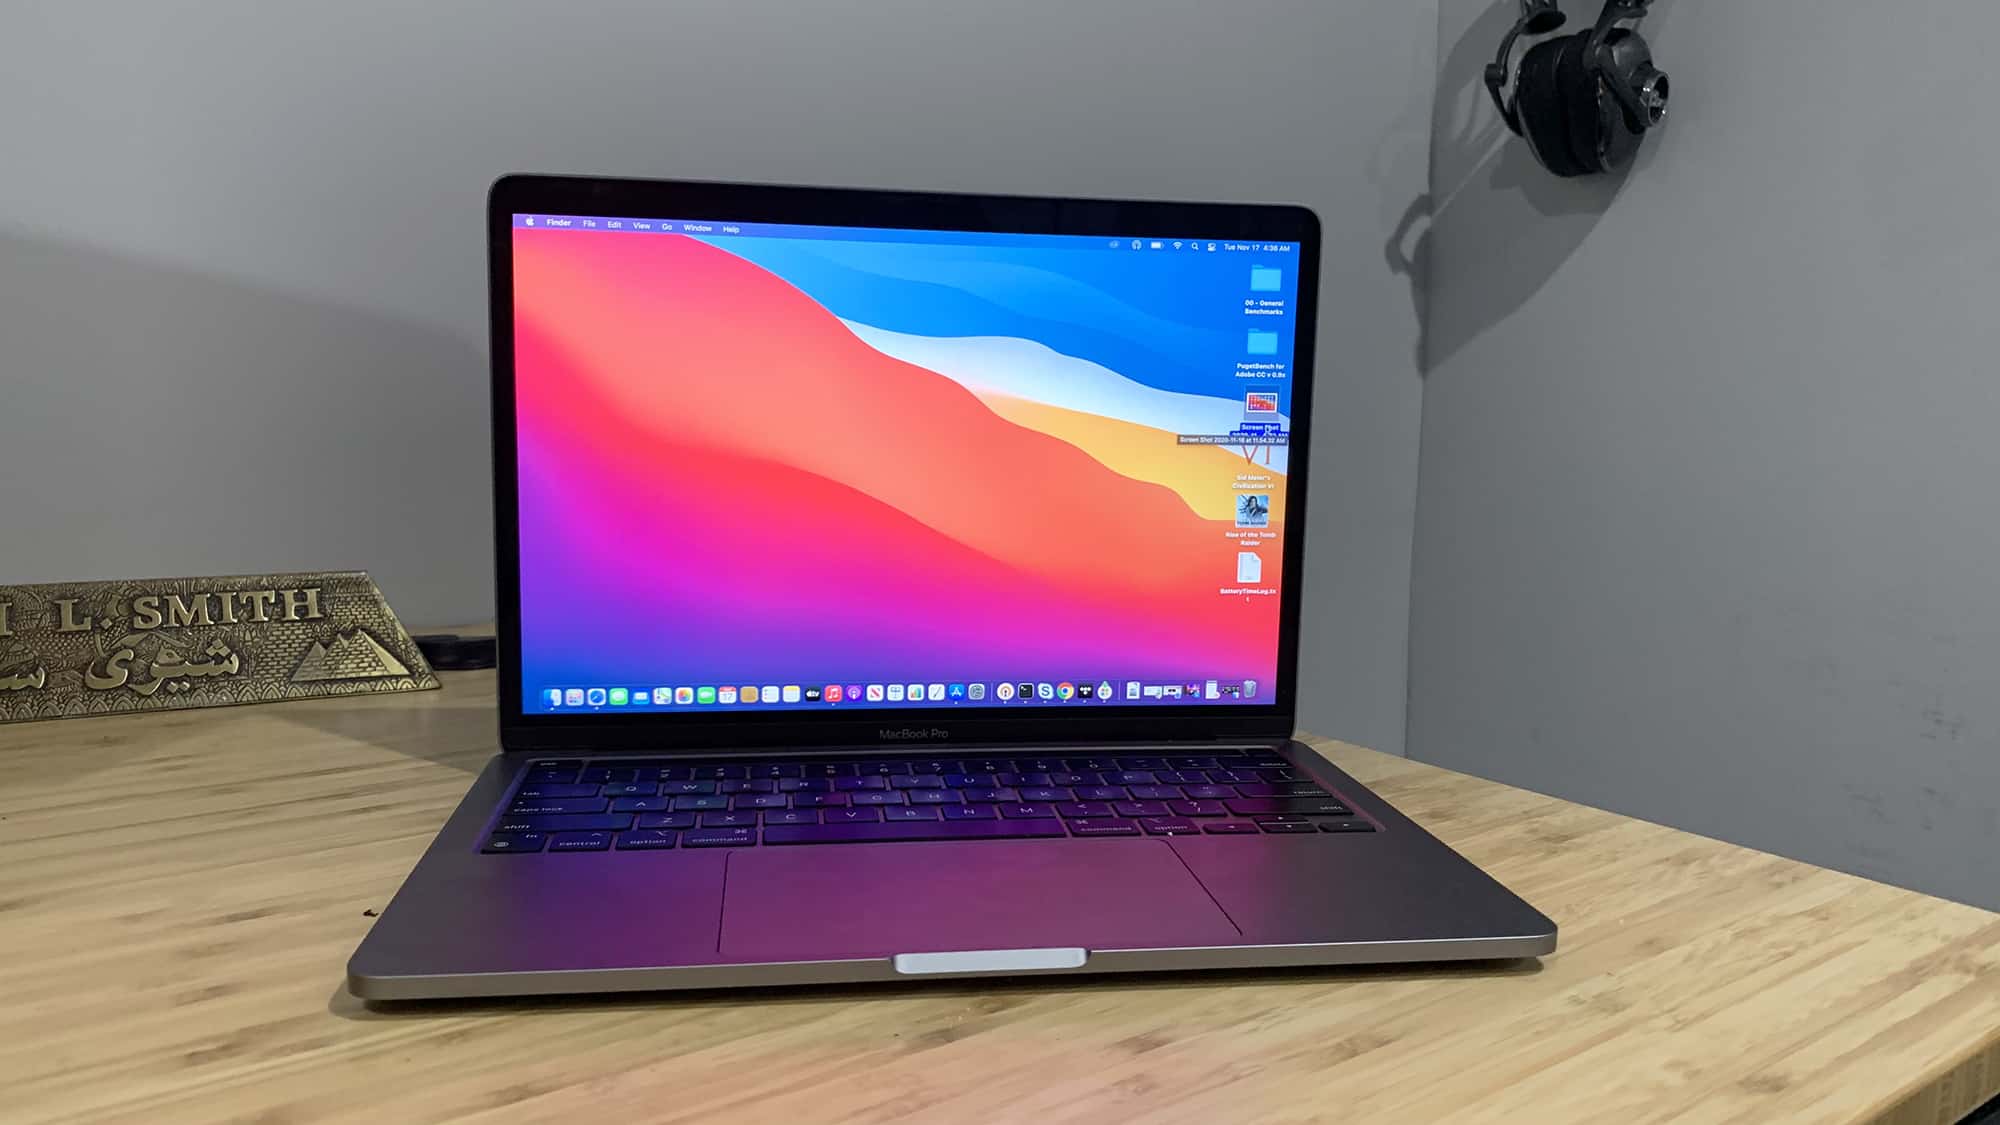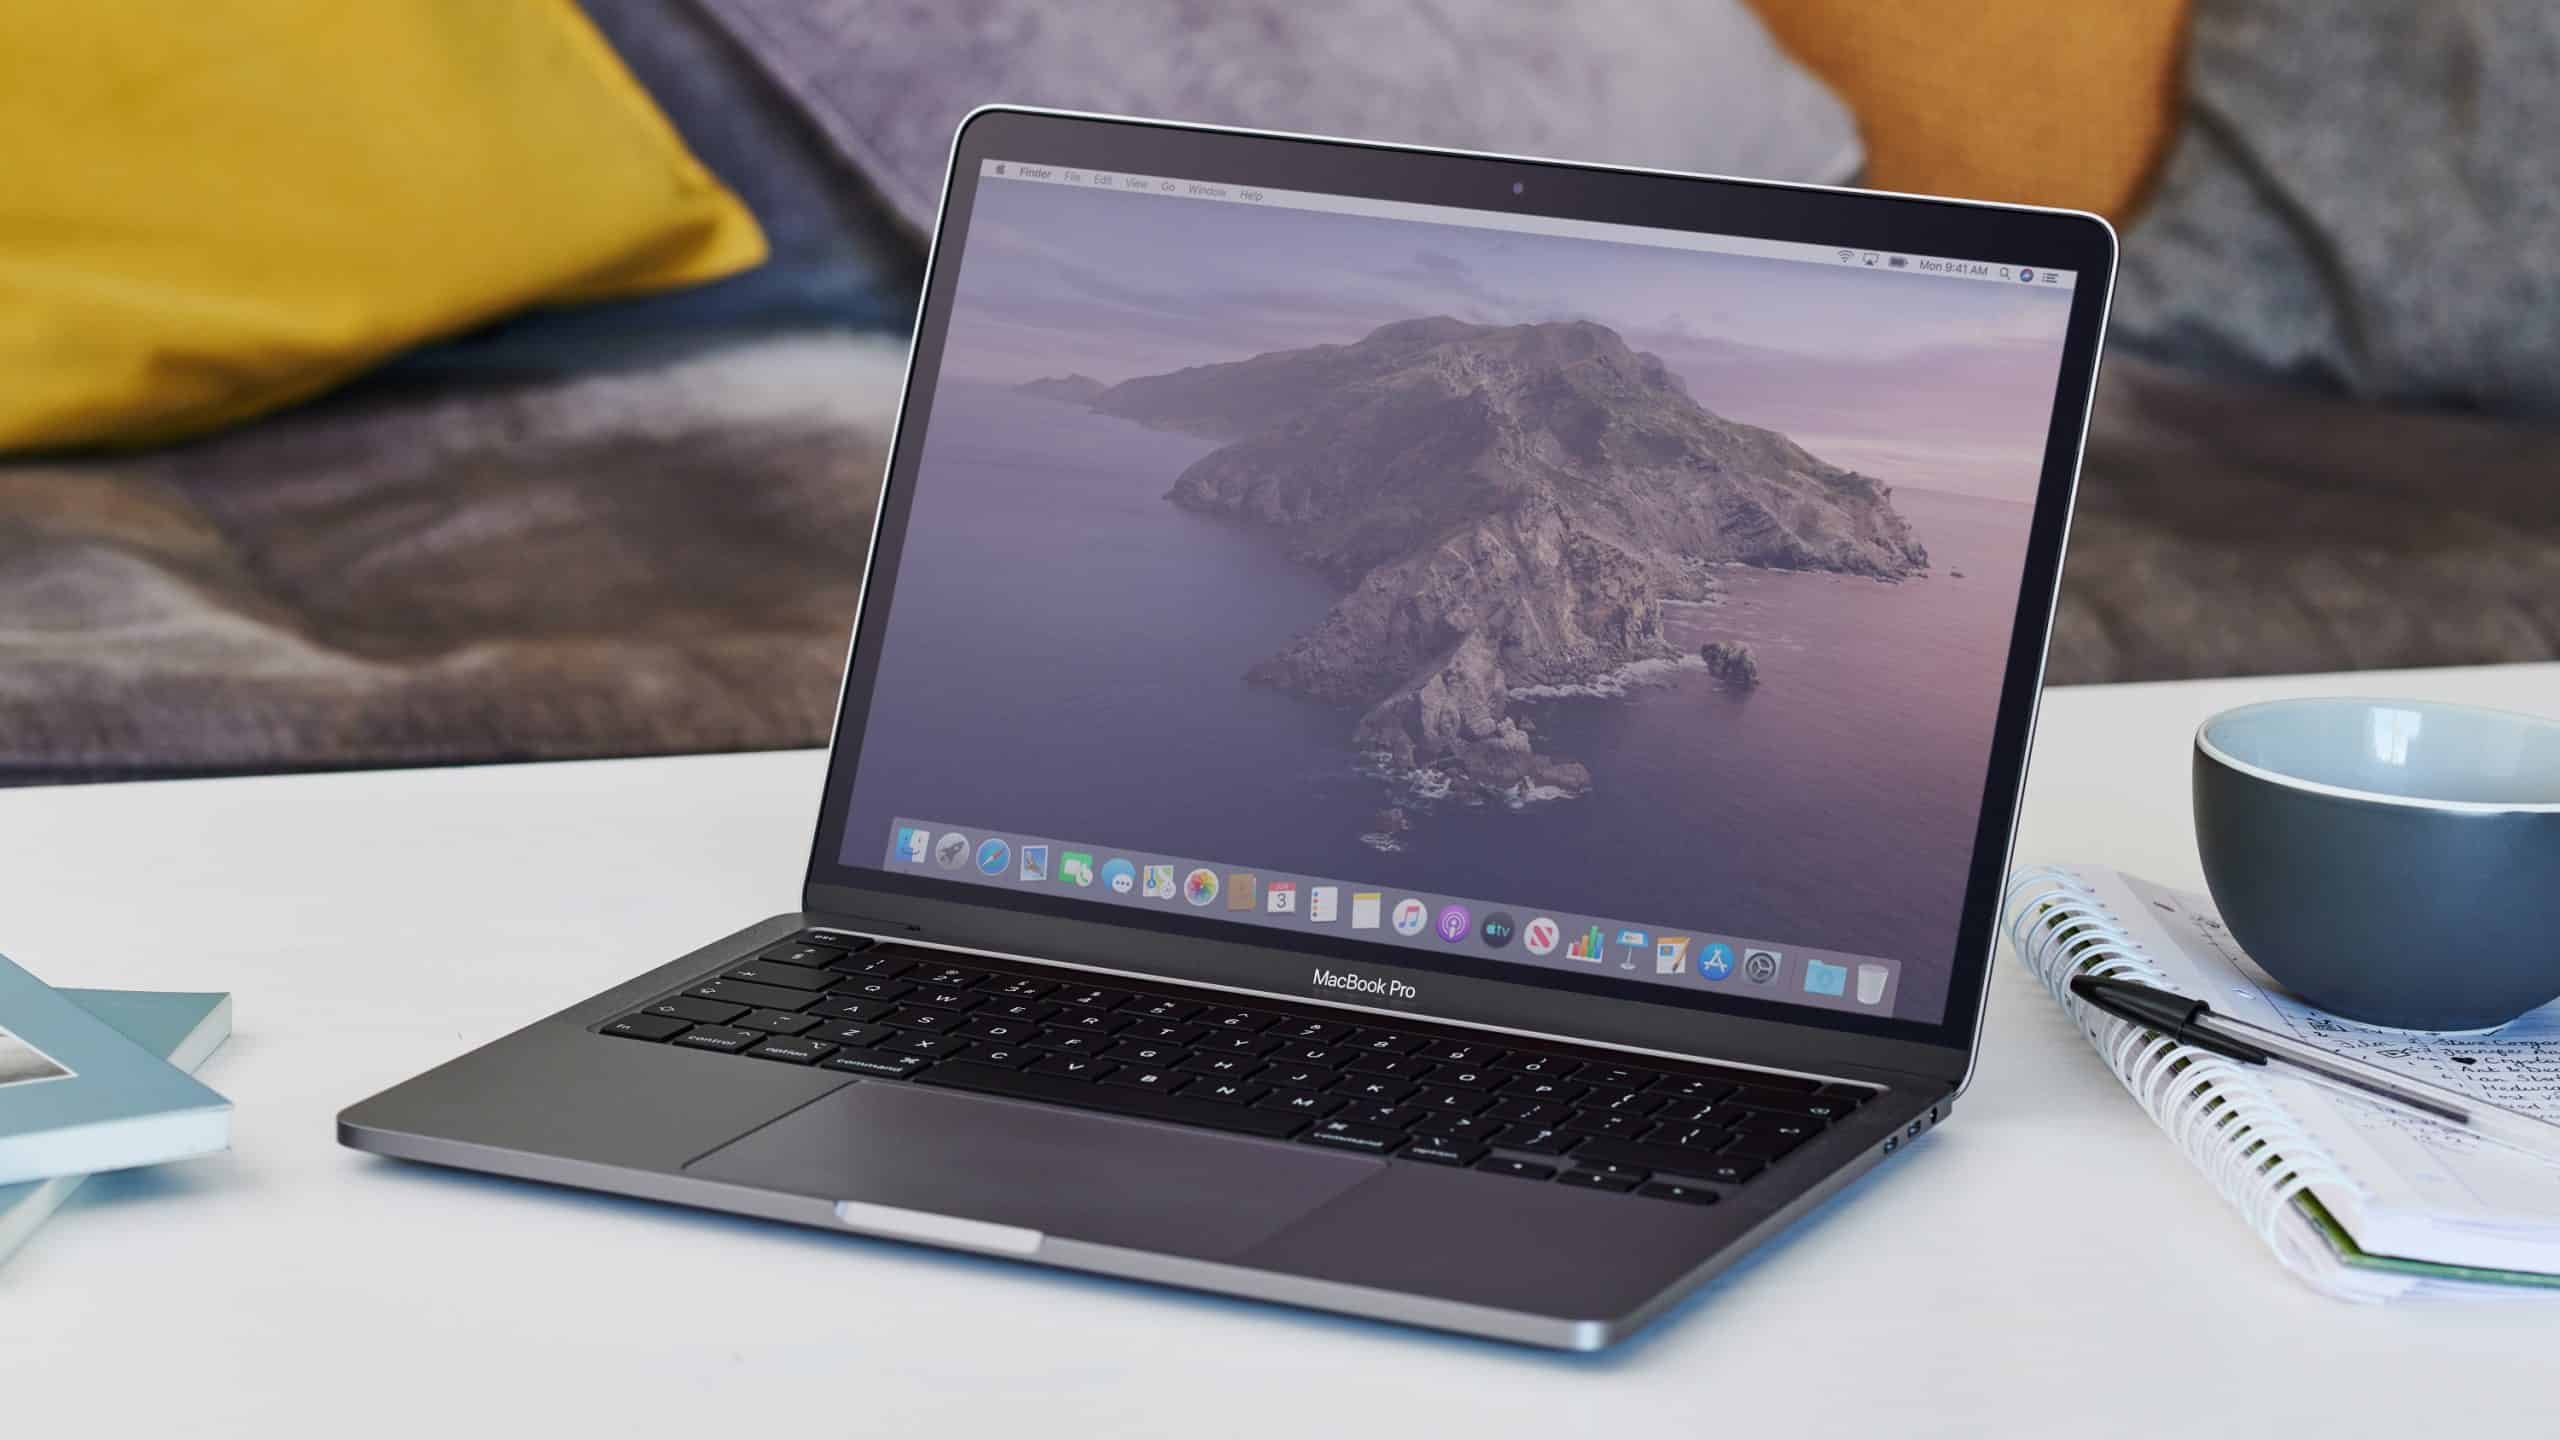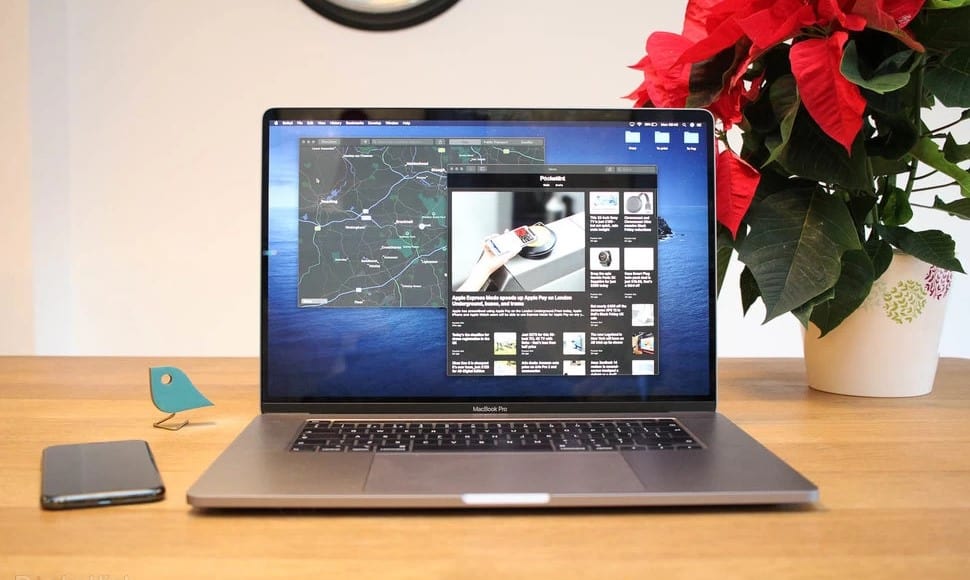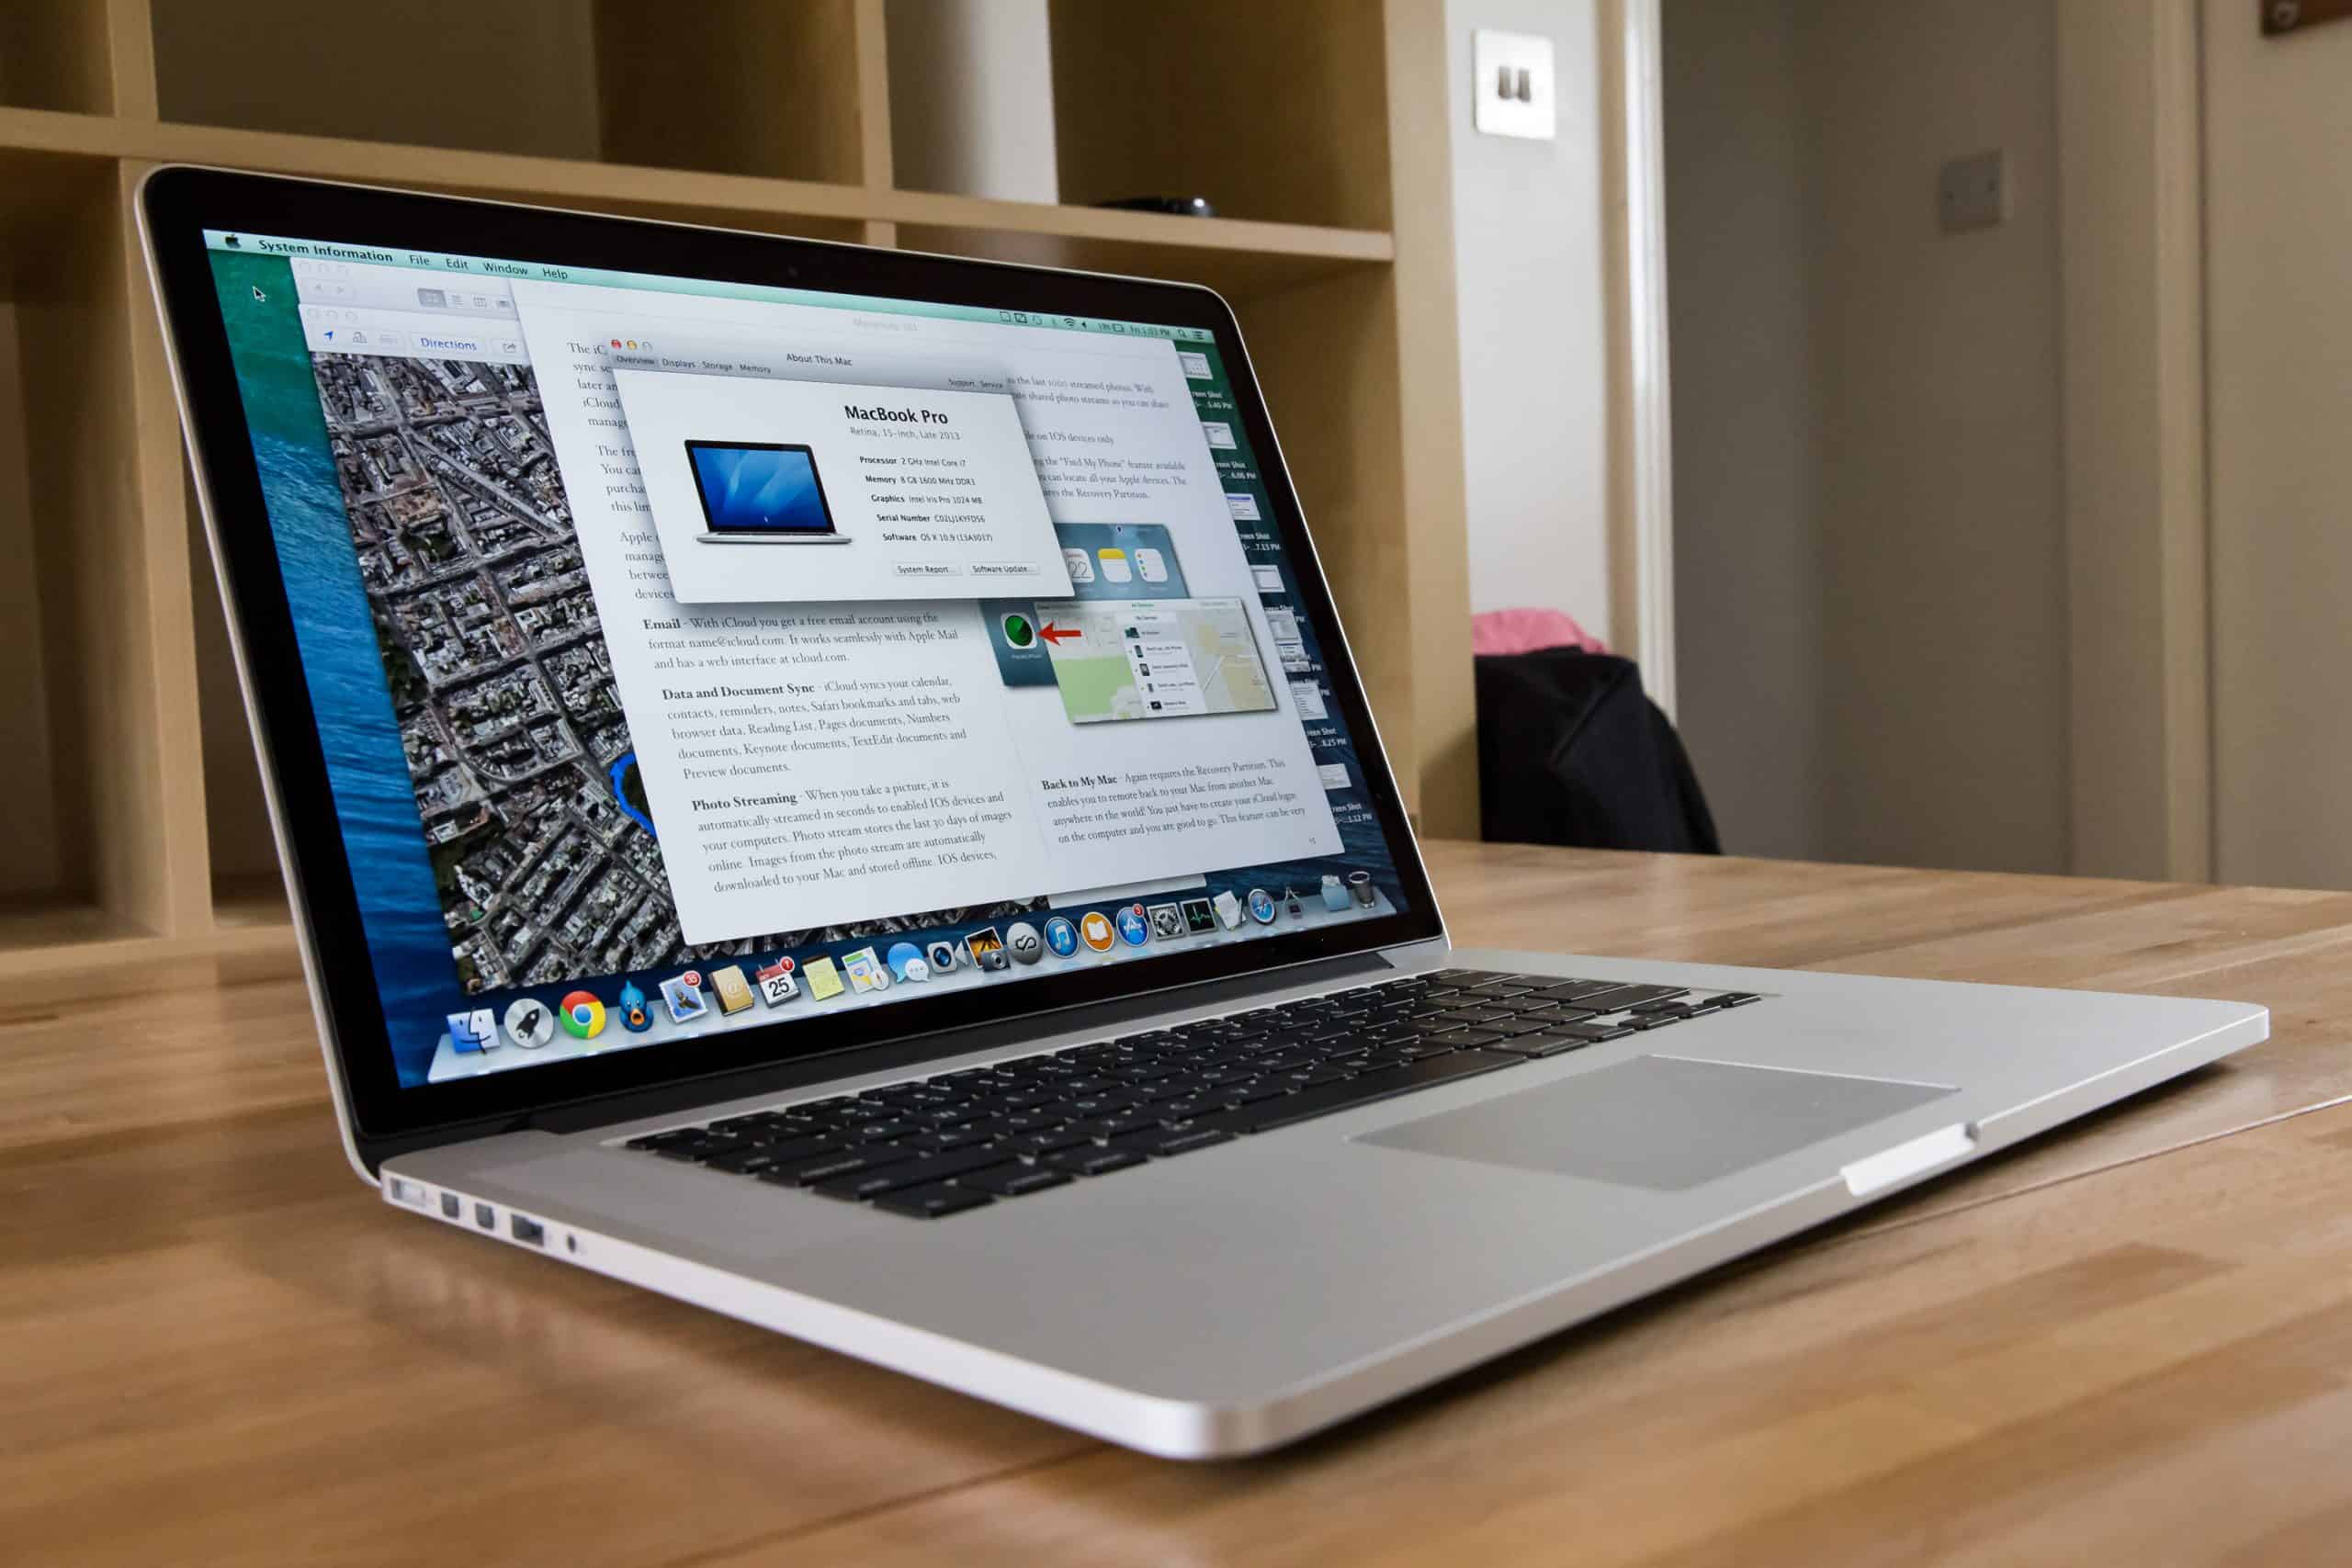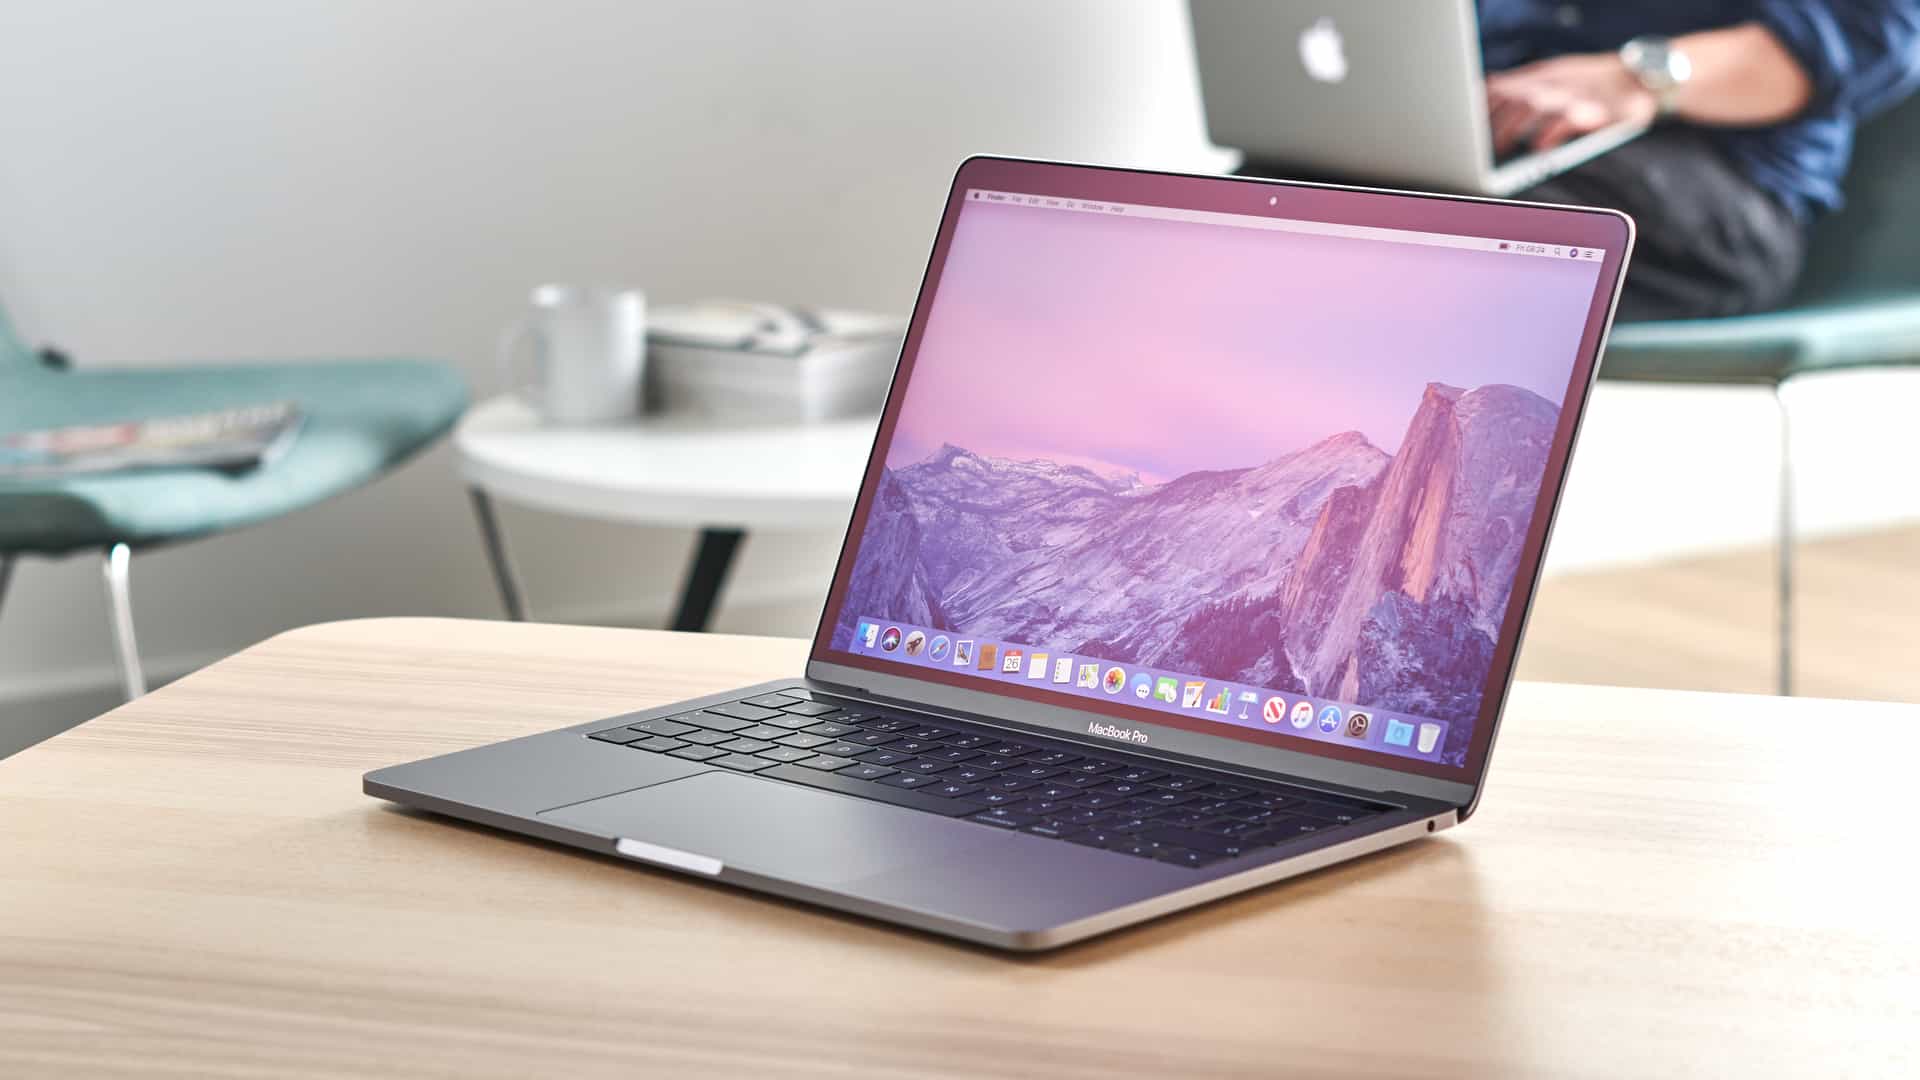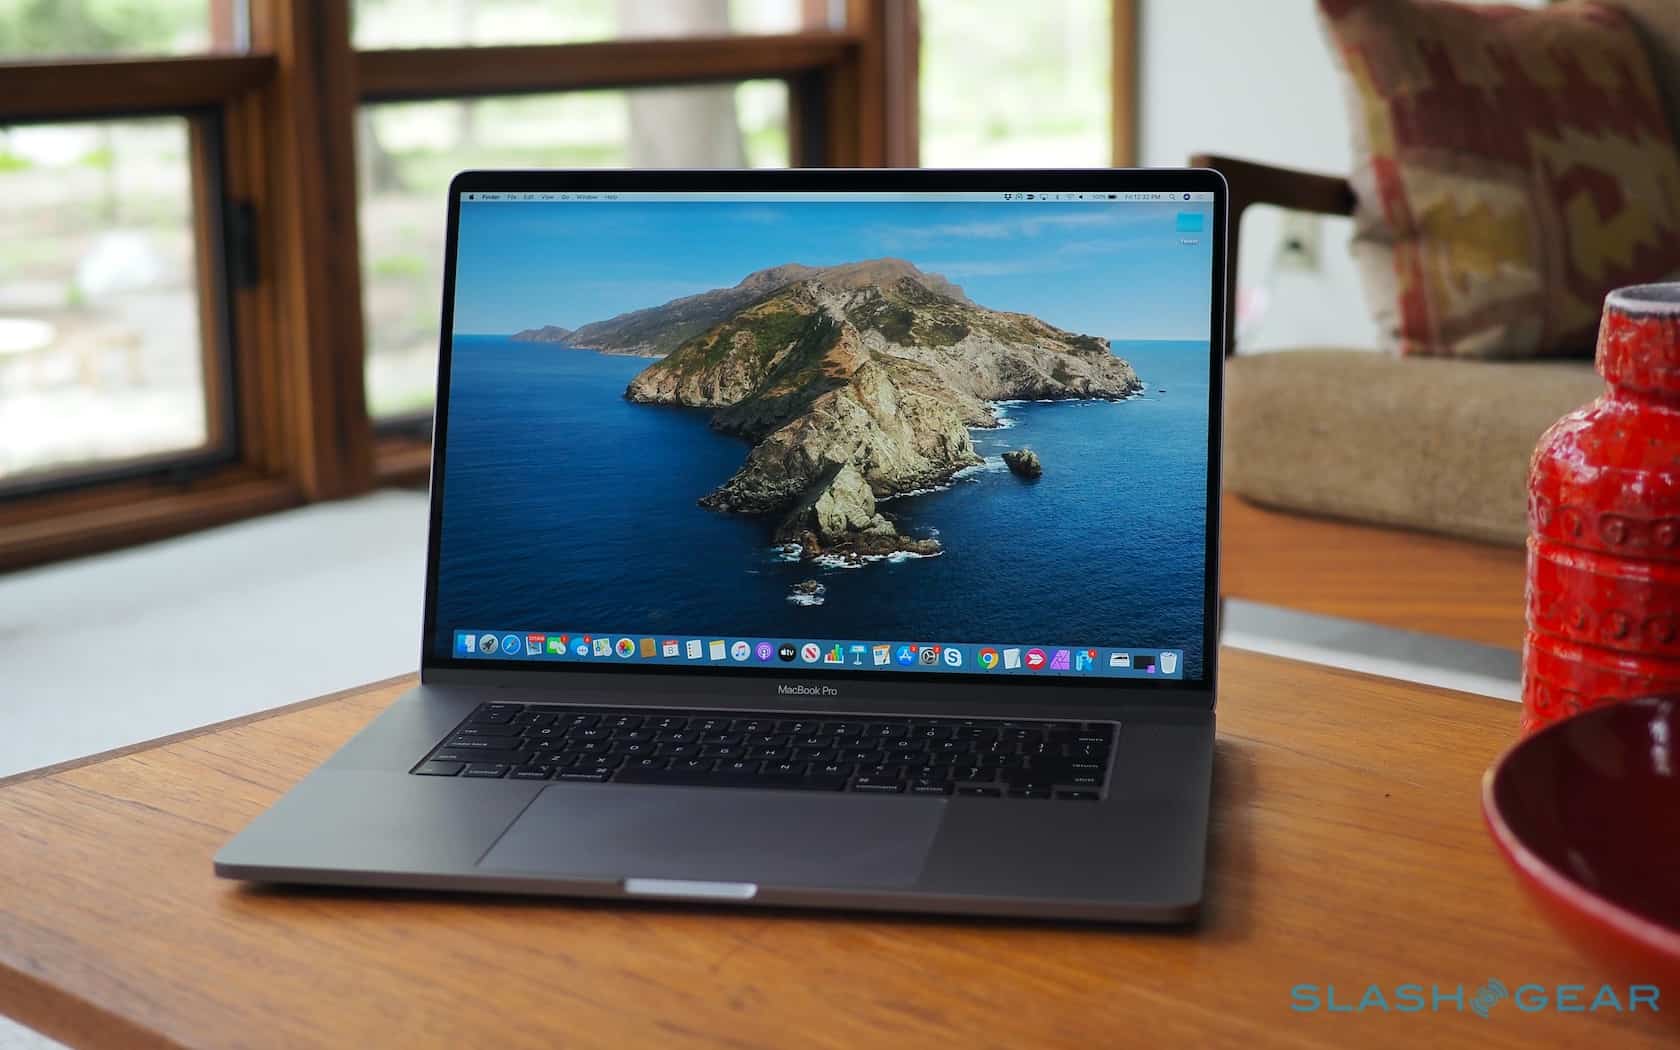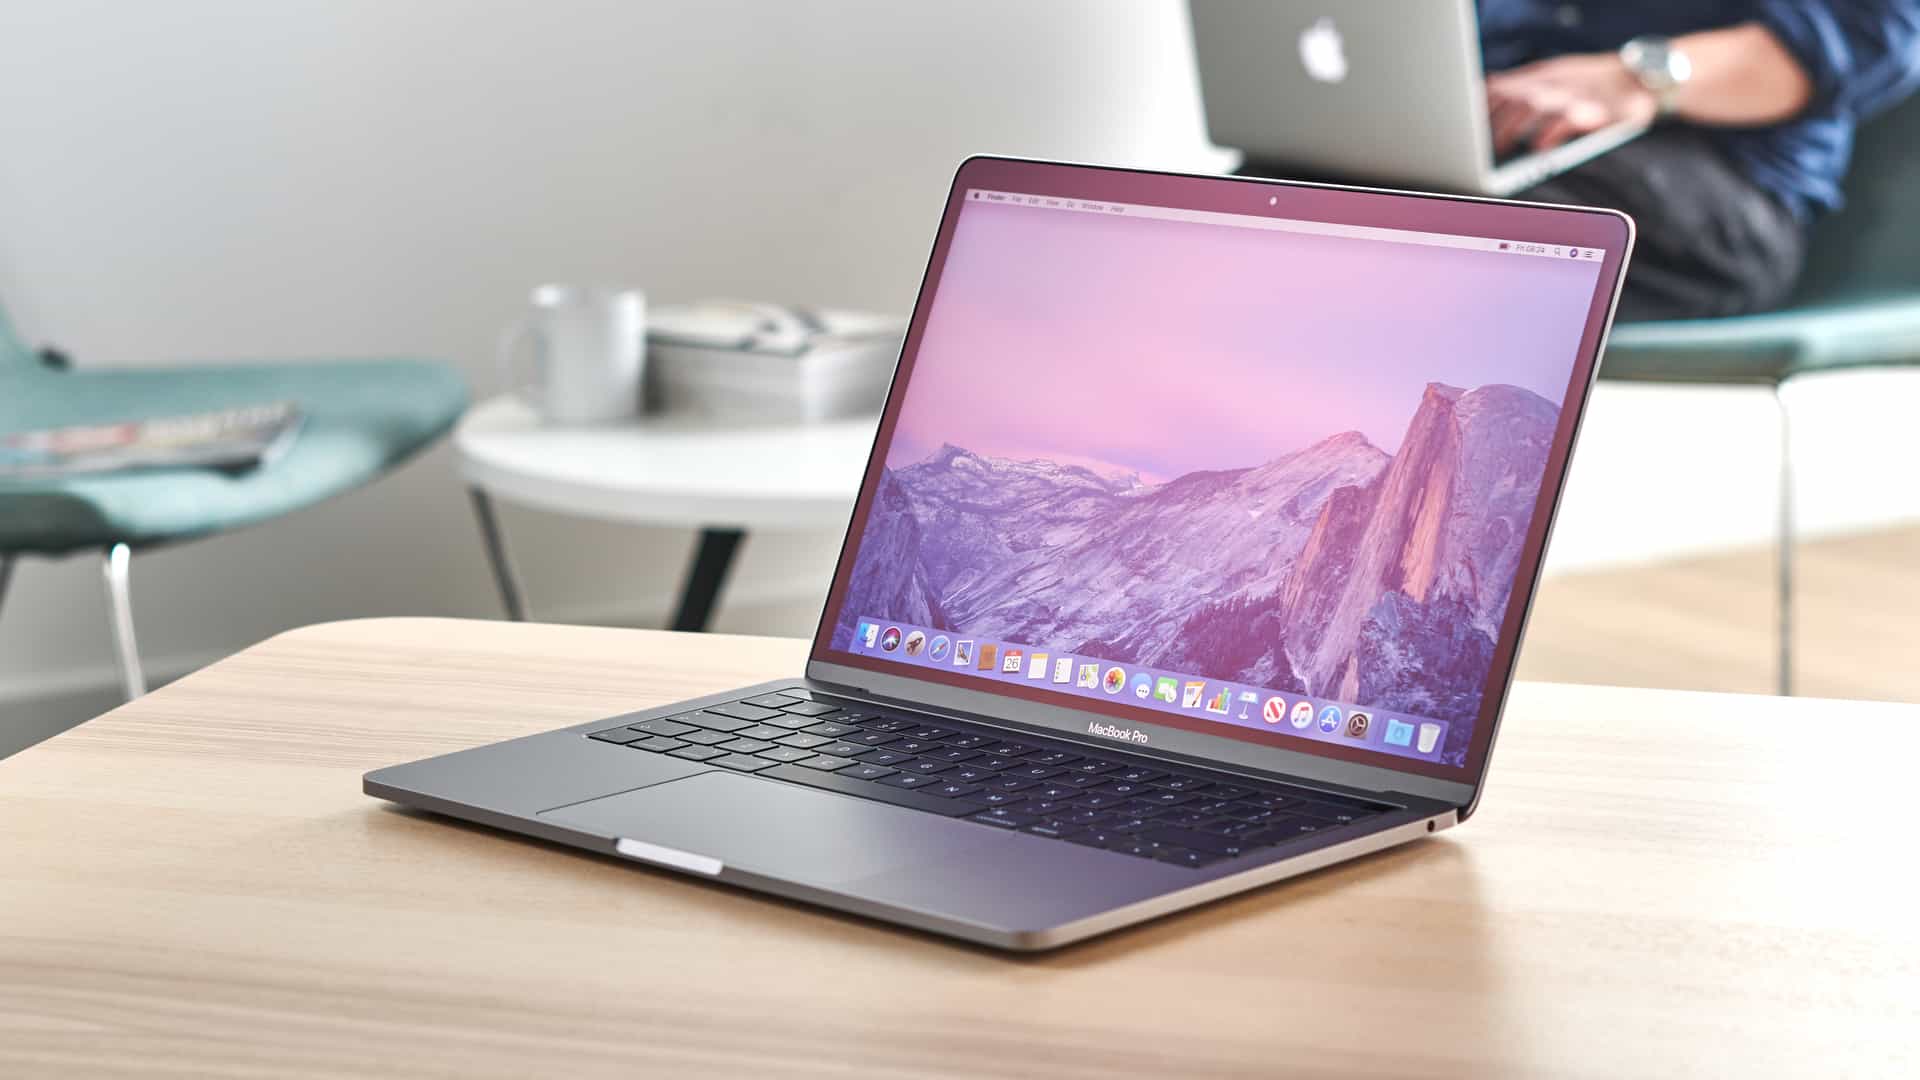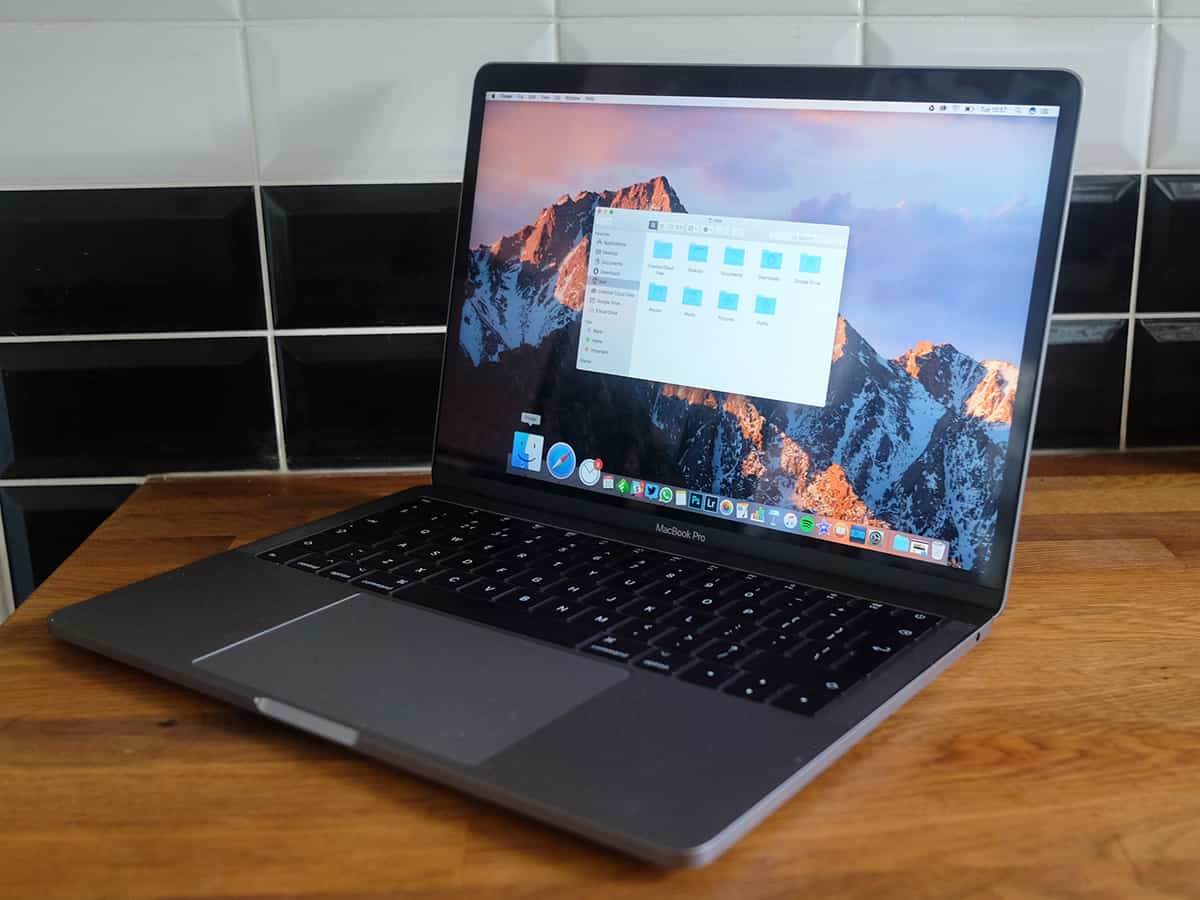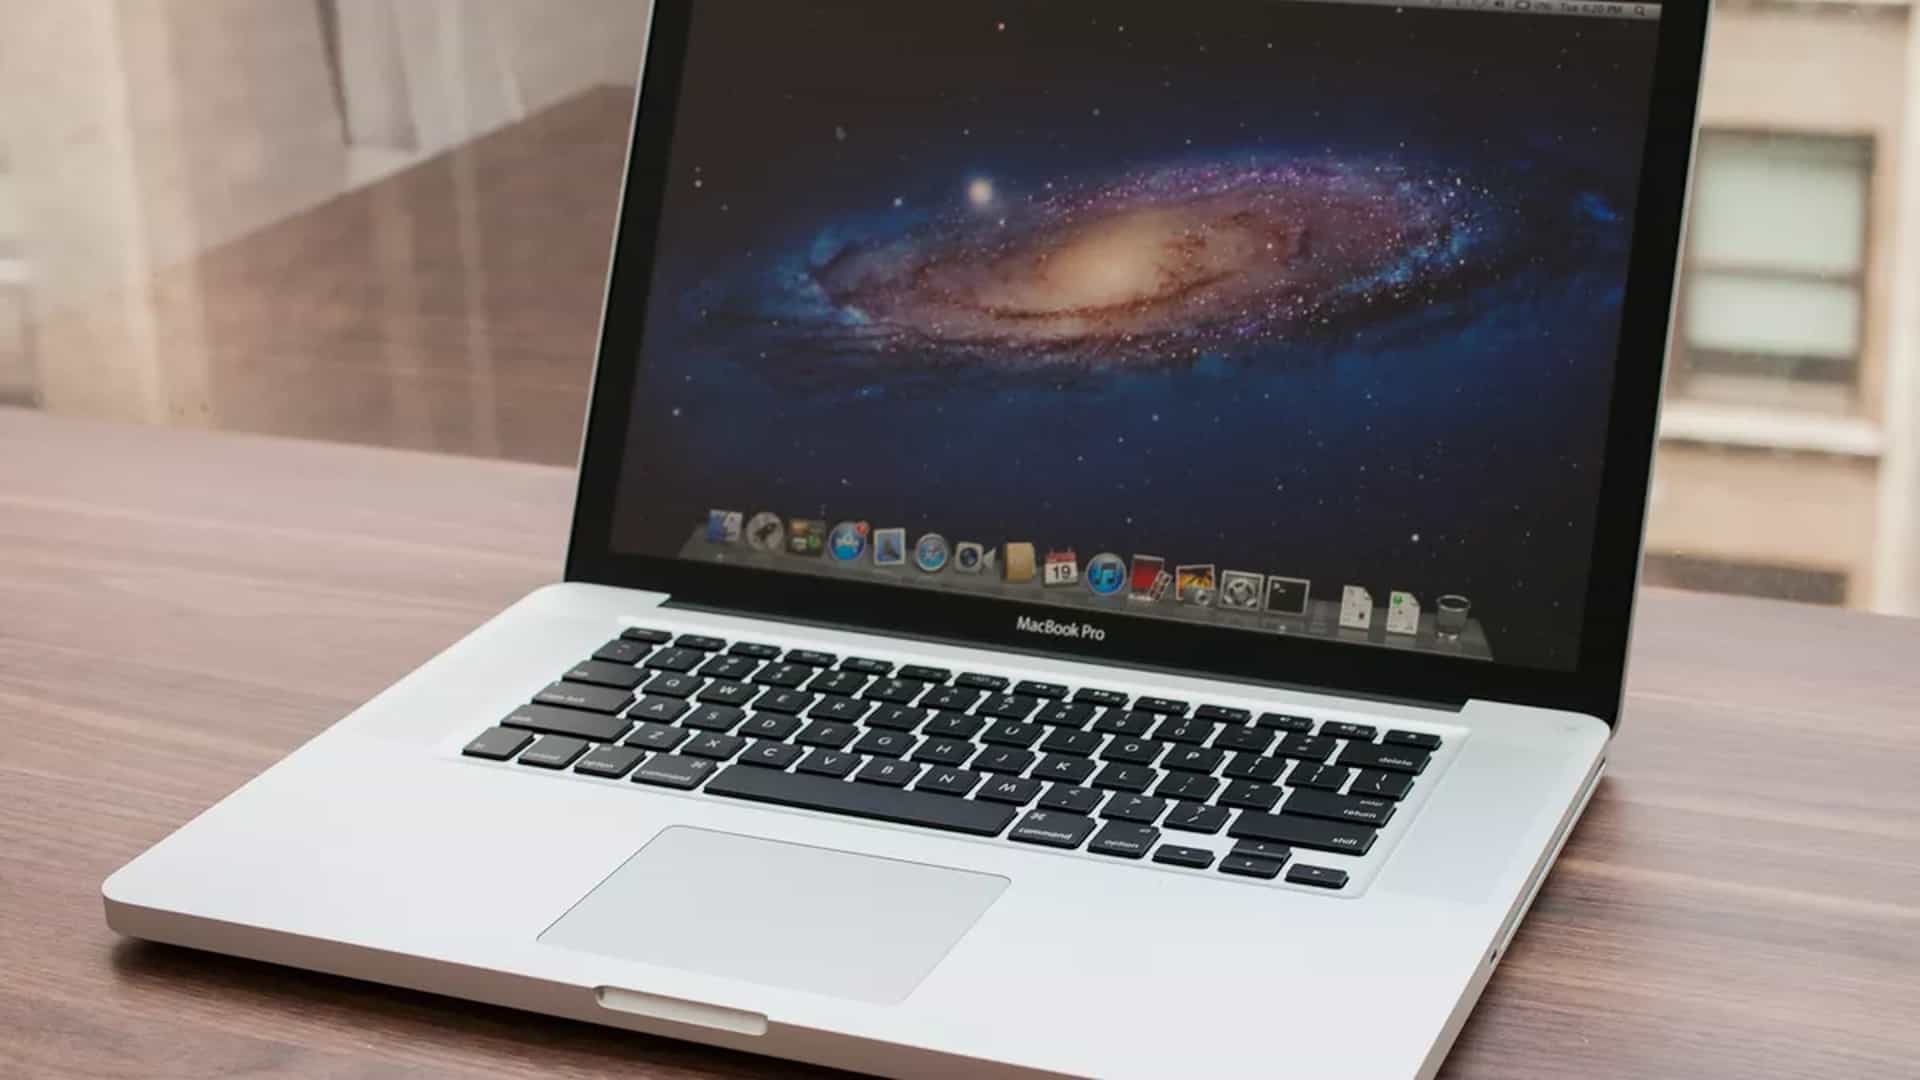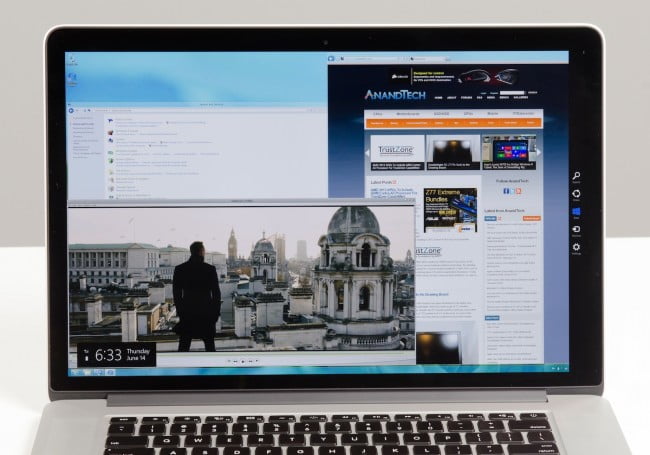
This week I decided to install Windows 8 on the MacBook Pro I’ve been using. The Apple-ites will exclaim, “Why would you want to do that”, and the uninformed will ask, “Why would you want to install Windows 8”. The answer, dear readers, is simple. Windows 8 is a solidly built OS. It boots, mounts and dismounts drives and searches faster than Windows 7. Sure, there’s the annoyance of the lack of a Start Menu, but we’ll be fixing that. Not to mention, The 8.1 update is supposed to bring it back for free at some undisclosed time.
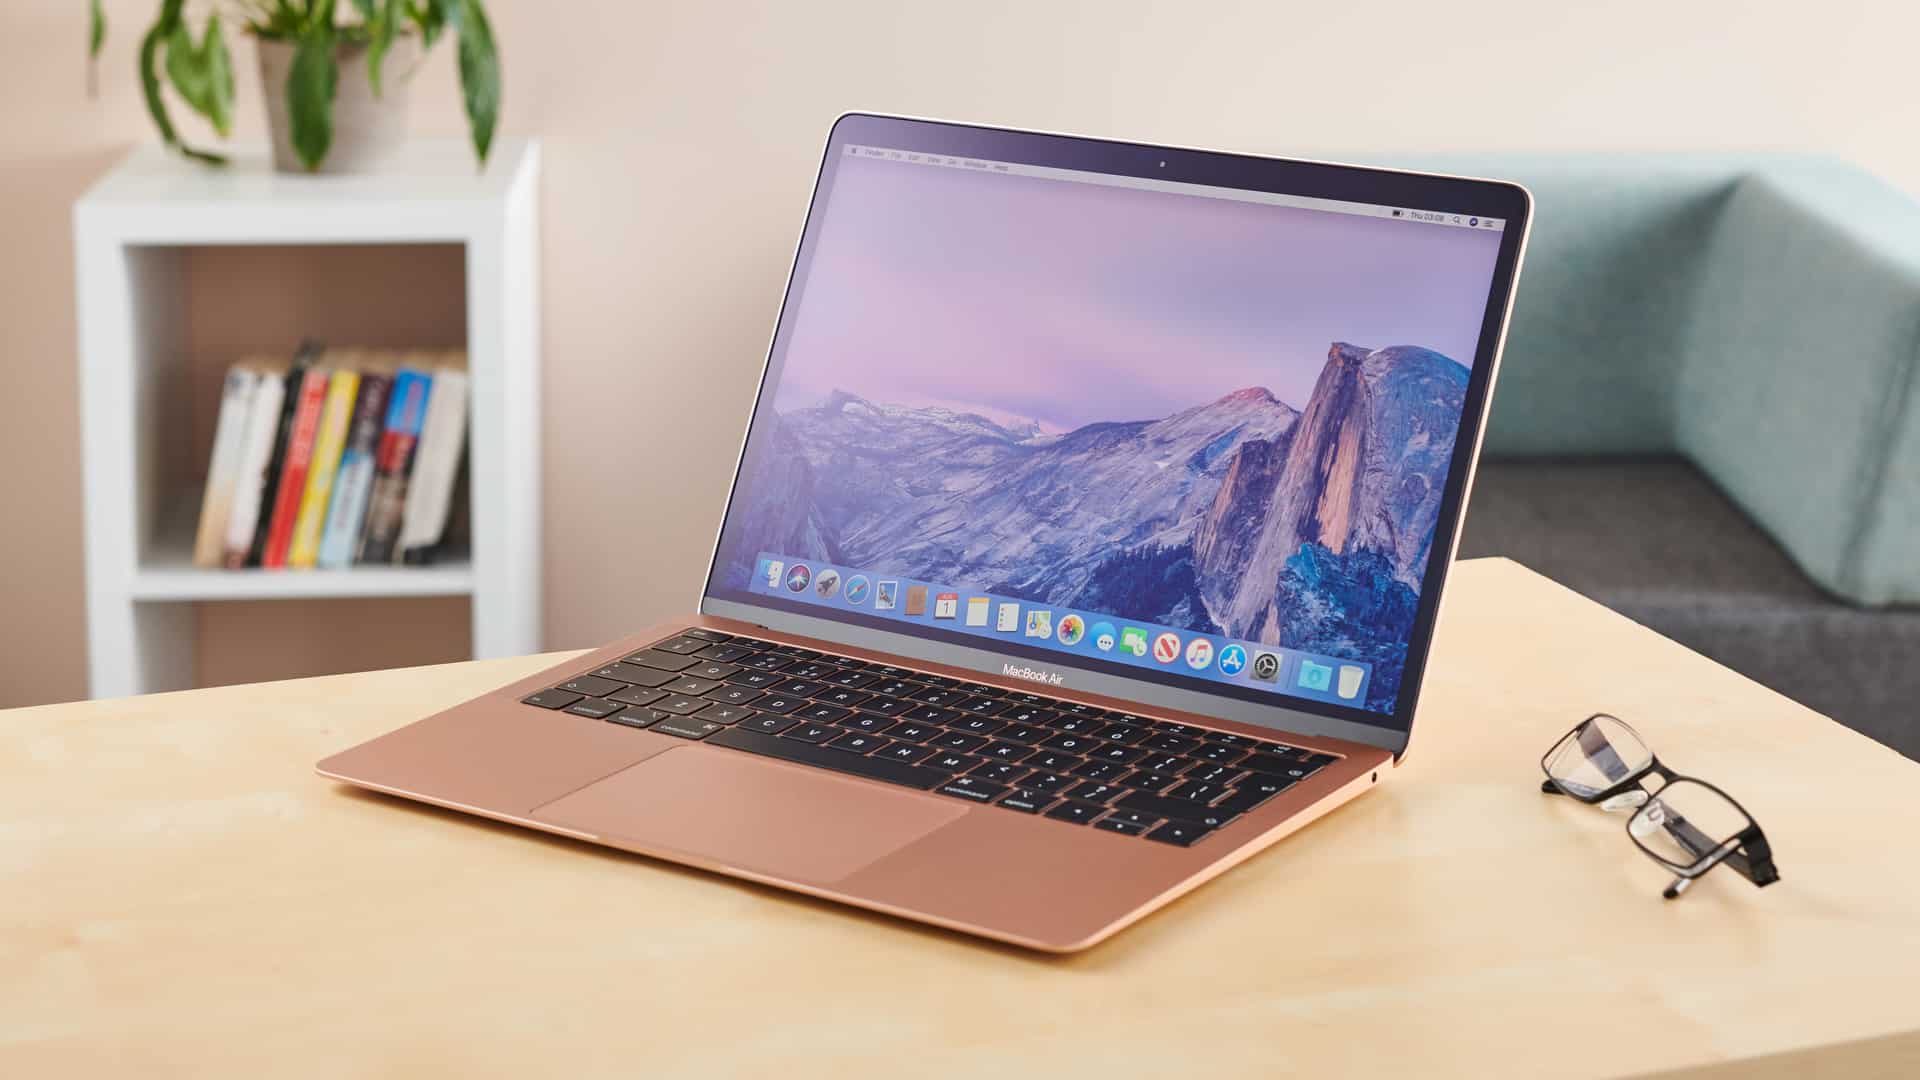
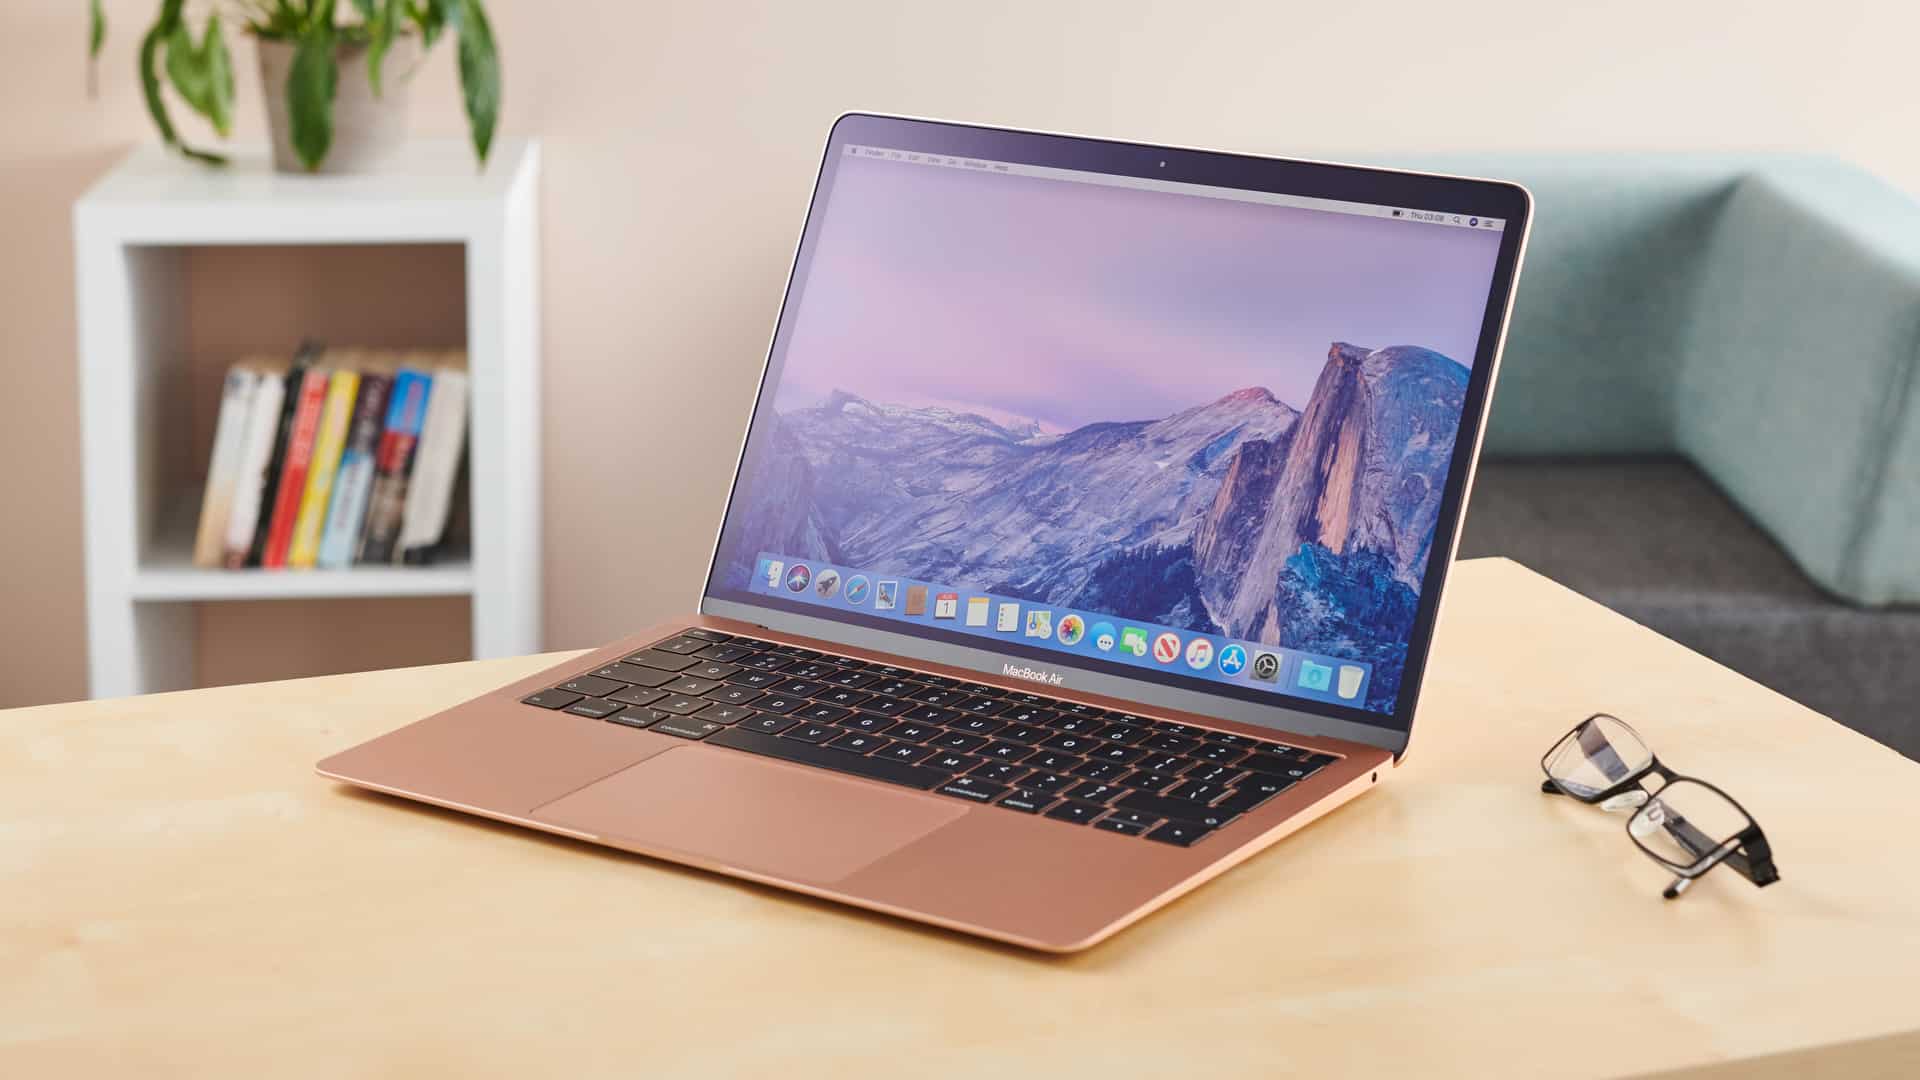
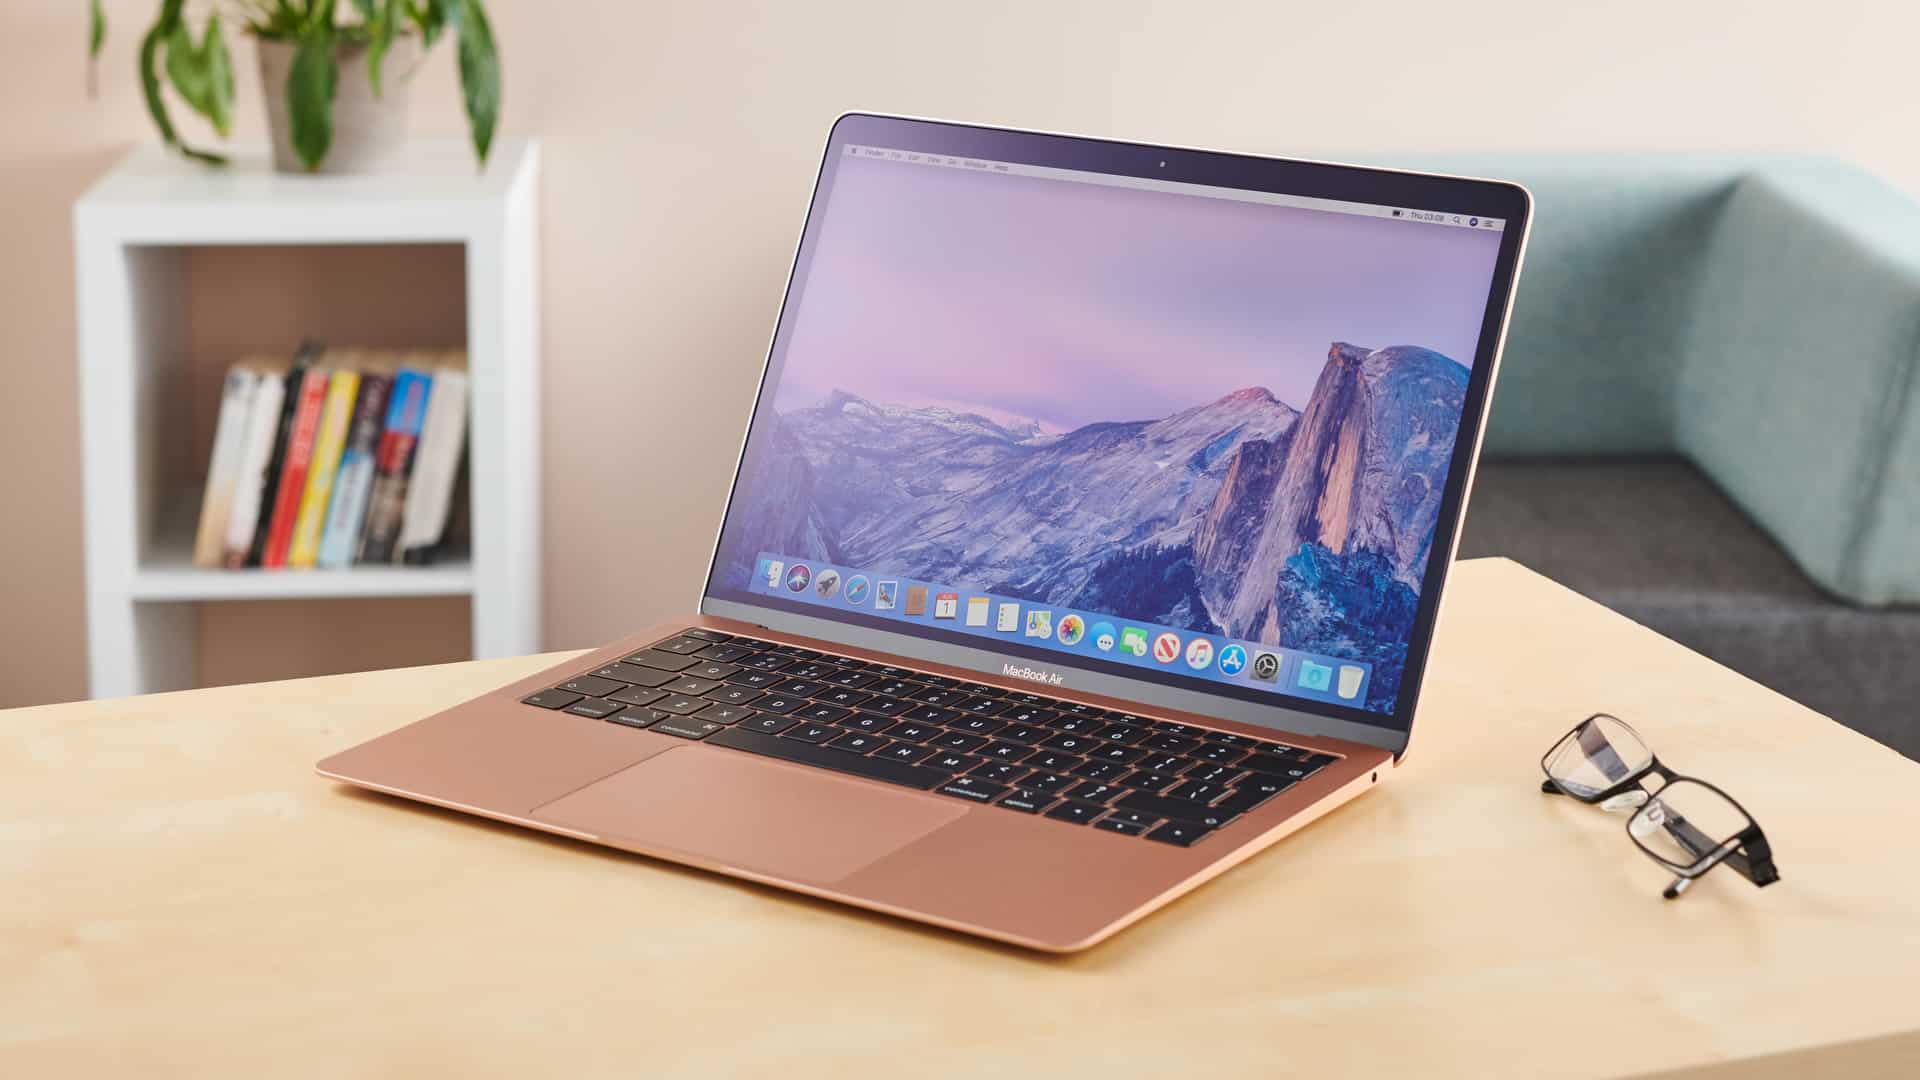
Take note, I will be installing Windows 8 on an older MacBook Pro. All the major points will be applicable to the newer, but I will still provide notes for anyone using as dated a machine as I am. If you really want to upgrade you MacBook, you might also be interested in our review of the gold plated Macbook Air.
Preparation:
- What you’ll need:
- MacBook Pro
- Windows 8 Disk
- Internet Access
- Older MacBooks – Windows 7 & 8 disks
- USB Flash Drive (6+GB)
Step 1: Prepping for Install
- Insert Disk
- Insert your Windows 8 Disk into your DVD drive.
- Older Macs: Insert a Windows 7 Disk into the DVD drive.
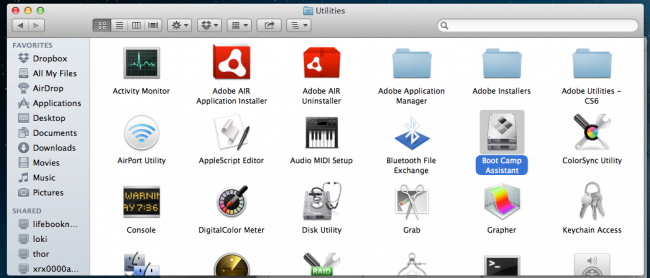
- In Finder, Browse to Applications
- Open Utilities and select BootCamp
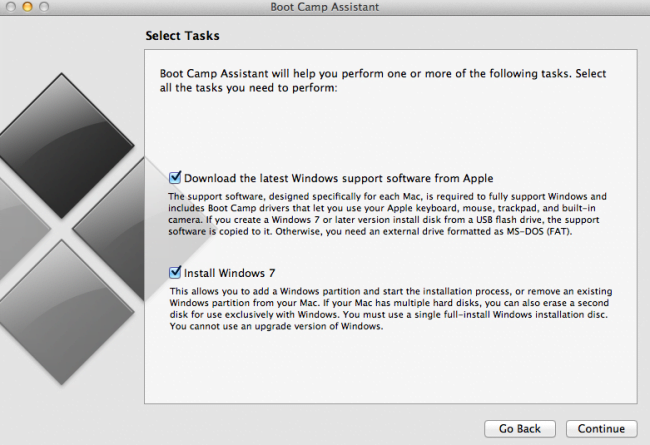
- Check both boxes on the “Select Tasks” tab
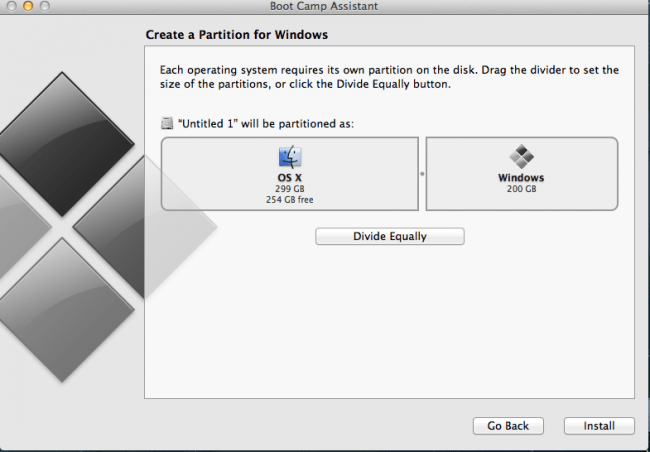
- Once Bootcamp opens, select your desired disk size for your Windows partition.
- I chose 250GB as I plan on installing a decent amount of software on the Windows side.
- Older Macbooks – Select Download latest Windows support from Apple. This will give you the required Bootcamp drivers needed to complete your Windows Installation.
Step 2: Installation
- Click Install
- The system will reboot in order to boot into the Windows 8 disk
- Or Windows 7 disk if you’re using the older Mac
- Older Mac: While rebooting, eject the Windows 7 disk and insert the Windows 8 disk now
- When the screen is gray, press and hold the alt/option key.
- Once the boot selector screen shows up, select the Windows Disk and press enter or click the circle with the arrow in it.
- The system will now boot into the Windows 8 install disk… This will take a while.
- The Windows installation will ask you to select language, time, currency and keyboard type.
- Enter your choices and click “next”
- Select “Install Now”
- Now you get Microsoft’s Term of Service, (Read it!)
- After reading the Terms, select agree, followed by Next
- (If you’re upgrading from Windows 7 to 8, select “upgrade”, if you’re doing a fresh install, select the partition you created in step 1 and click Next
- Now we sit back and wait while the disk installs files.
- Waiting and waiting and waiting…
- and waiting…
- still waiting… sheesh.
- I’m watching Game of Thrones while I do this install and at 87%, the episode’s already in Yunkai.
Step 3: Logging In
Alright, here we go! We’ve finally gotten to the Windows 8 startup screen. You can be sure you’re there by recognizing the Space Needle standing tall before Mt. Rainier with the time, date WiFi and battery icons displayed.
While the early release of Windows 8 had only one way of bypassing the new welcome screen, by dragging the screen upwards with either your mouse or your finger, the final release provides several ways to get passed it.
- Either Click, press space bar or the enter/return key and you’ll now be greeted with the log in screen.
- While Windows 8, “gets ready”, Microsoft presents you with a handy guide to Windows 8 basics.
- Read it, learn it, prepare to live it.
Step 4: Setting up Bootcamp
Now that Windows 8 is ready, you are taken to Windows 8’s Metro interface screen. Yay!
Seriously, don’t worry, we’ll be getting rid of that.
- Slide your mouse cursor to the bottom right of the screen and click desktop.
- Congratulations, you are now in Windows 8 and the System will begin the Bootcamp installation process.
- Old Macbook: Time to use that Flash drive with the Bootcamp drivers from step 1.
- Open Bootcamp folder in the drive and browse to the “drivers” sub folder.
- Install each driver in every folder, if any of them present a popup stating they can’t be installed, it is likely you do not have the particular hardware installed attached to the driver. Just close the popup and move to the next driver.
- Now that that’s all complete, browse to the Windows Support folder in the flash drive and run Bootcamp.
- Bootcamp all installed? Great, time to set it up.
- Slide your mouse over the Notification area on your desktop (It’s those icons on the far right side of your taskbar on the bottom of the screen) and click the little pyramid.
- You should now see a gray diamond icon, that’s Bootcamp running. Click it and you’ll be presented with a menu.
- Select “Bootcamp Control Panel”.
- The Bootcamp window will have six tabs, Startup Disk, Brightness, Remote, Keyboard, Trackpad and Power.
- Under the Startup Disk tab, select which OS you’d prefer the system boot into by default. This allows you to chose which OS your system will auto boot into after a reboot or startup.
- If you want to boot into the other OS, press and hold the alt/option key when you see the gray screen while booting.
- Go through the other tabs and make the selections you prefer.
- I chose to set the F keys as standard under the Keyboard tab because Windows uses F keys for some really nifty shortcuts.
- I also chose to select, tap to click under the Trackpad tab as the feeling of hard press clicking on trackpads annoys me.
- Press apply after each change, and when you’ve made all your selections, click ok.
- Now you can select your wireless connection in the taskbar.
- Select the wireless signal you want to connect to, enter your credentials and hit ok.
Step 5: Update Windows
While Windows 8 is now installed on your system, it’s not completely done. Microsoft has several updates available for download and install, and we all know that those updates are quite important. It says so in the textbox as you’ll see soon.
- Slide your mouse cursor to the bottom right corner of the screen.
- You’ll see five icons appear on the right side of the screen. Hover over one to see the labels telling you what they represent.
- Now click the gear icon which is labeled “Settings”
- Click on Control Panel and the Control Panel window will appear.
- Scroll all the way down to the bottom and open “Windows Update”.
- There will be both important and optional updates. Click on either and you’ll get a list of the updates available.
- Click the top checkbox which selects all updates and then click “Install” in the bottom right of the window.
- These updates can take a while, so use this time to do some jumping jacks, crunches or just grab a snack. I opted to dig through my software folder on my external hard drive and prep for the mass installs that I’ll be doing.
- Now that the Windows updates are complete, the system will want to reboot. If you chose to have the system boot into OSX by default, don’t forget to hold down the alt/option key so you can chose to boot back into Windows 8.
Step 6: Have Fun!
That’s it! You’re technically done. You now have a complete dual booting Macbook.
Start installing your software. I suggest you check out Stardock’s Start 8. It’s five bucks and will make your Windows experience more manageable if you’re used to previous Windows systems. If you’re having any trouble, mention it in the comments and I’ll try to assist if I can.
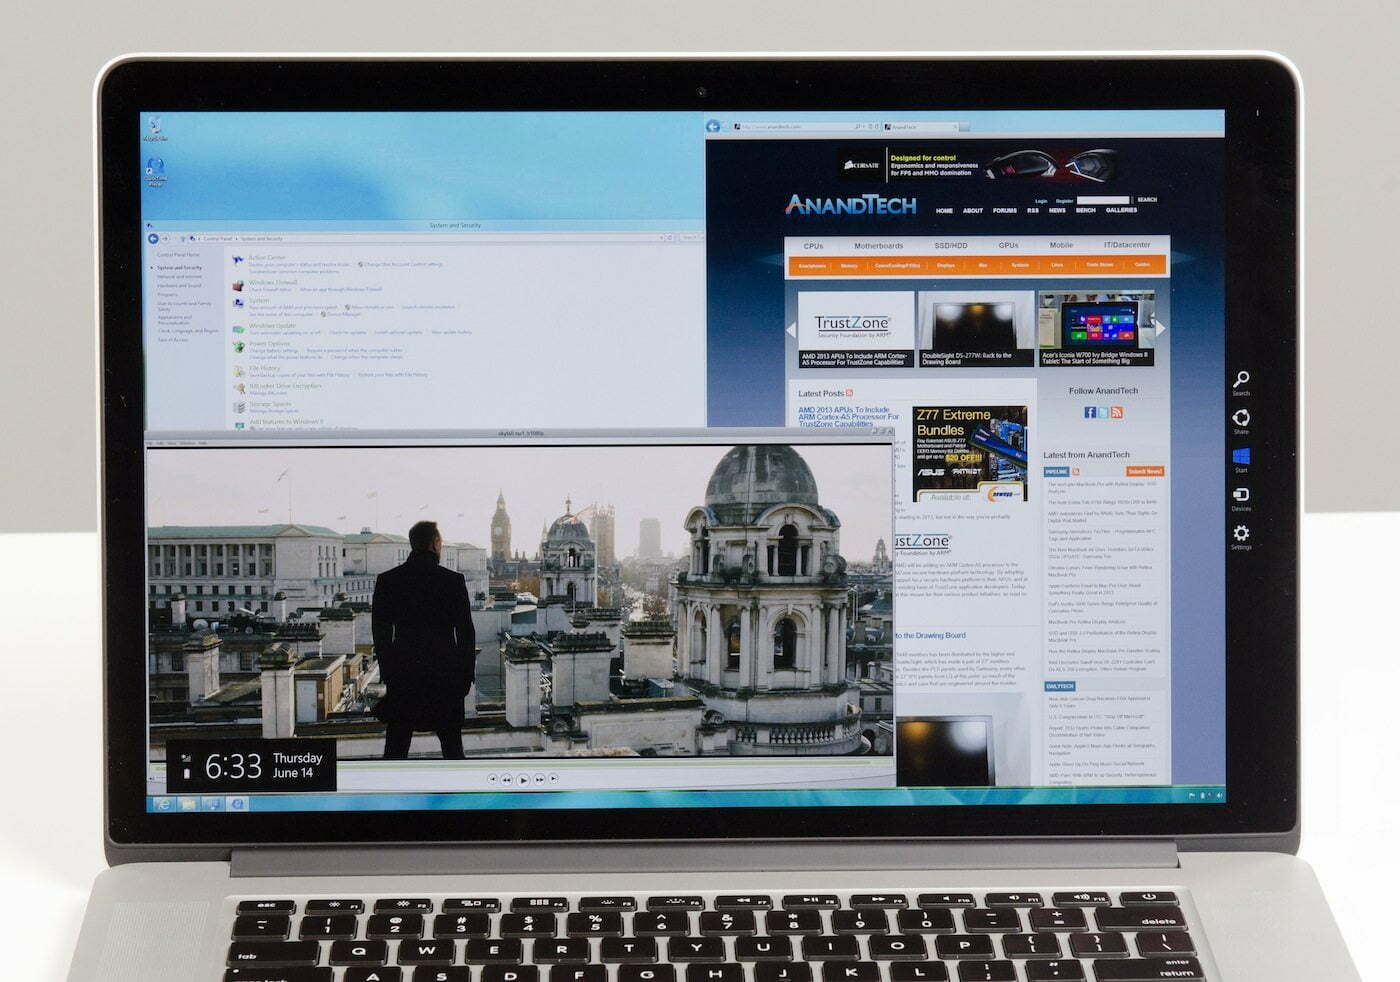
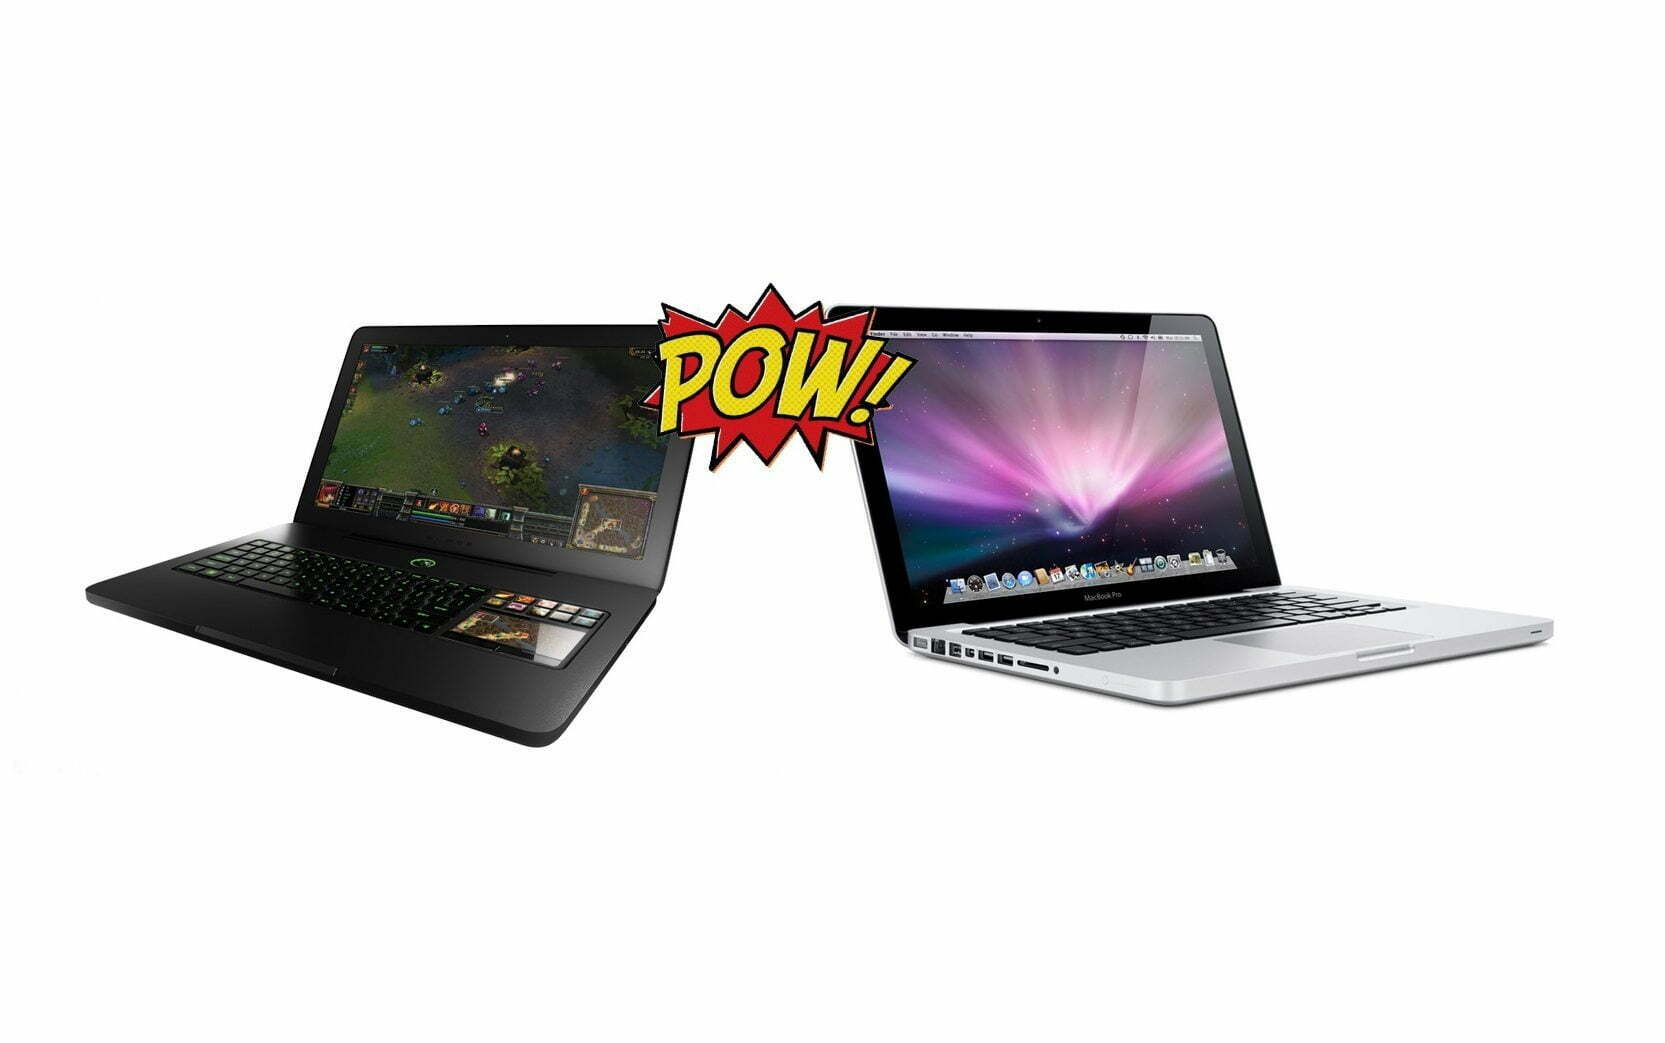
Intro image courtesy of Anandtech




![Best BenQ Monitors in [year] 15 Best BenQ Monitors in 2025](https://www.gadgetreview.dev/wp-content/uploads/best-benq-monitor-image.jpg)
![Best Apple Laptops in [year] ([month] Reviews) 16 Best Apple Laptops in 2025 (April Reviews)](https://www.gadgetreview.dev/wp-content/uploads/best-apple-laptop-image.jpg)
![Best Laptops in [year] ([month] Reviews) 17 Best Laptops in 2025 (April Reviews)](https://www.gadgetreview.dev/wp-content/uploads/microsoft-surface-book.jpg)
![10 Best Rugged Laptops in [year] 18 10 Best Rugged Laptops in 2025](https://www.gadgetreview.dev/wp-content/uploads/best-rugged-laptop.jpg)
![10 Best Ubuntu Laptops in [year] 19 10 Best Ubuntu Laptops in 2025](https://www.gadgetreview.dev/wp-content/uploads/best-ubuntu-laptop.jpg)
![10 Best Good Laptops for Kids in [year] 20 10 Best Good Laptops for Kids in 2025](https://www.gadgetreview.dev/wp-content/uploads/best-good-laptop-for-kids.jpg)
![10 Best Battery Life Laptops in [year] 21 10 Best Battery Life Laptops in 2025](https://www.gadgetreview.dev/wp-content/uploads/best-battery-life-laptop.jpg)
