Although it’s been a slow, arduous process getting there, these days Chrome OS is looking like a better alternative to Windows, OSX, and Linux for a growing number of users from around the globe. But what do you do if you want all the benefits of Google’s operating system without the hassle of buying a whole new laptop to get it?
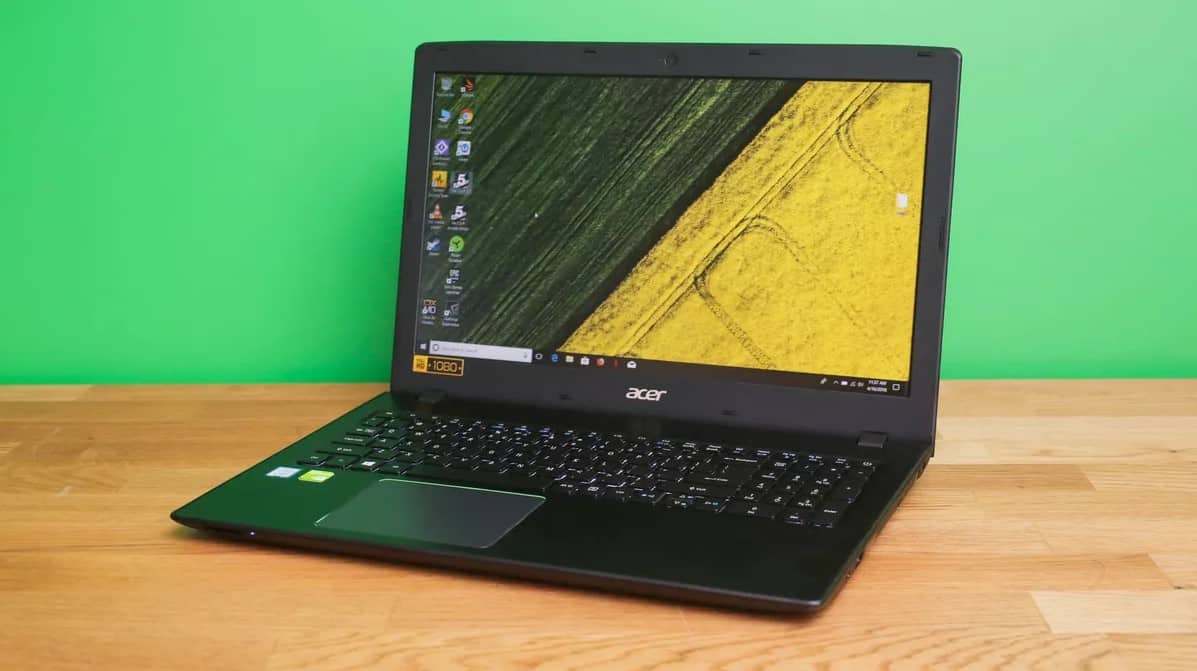
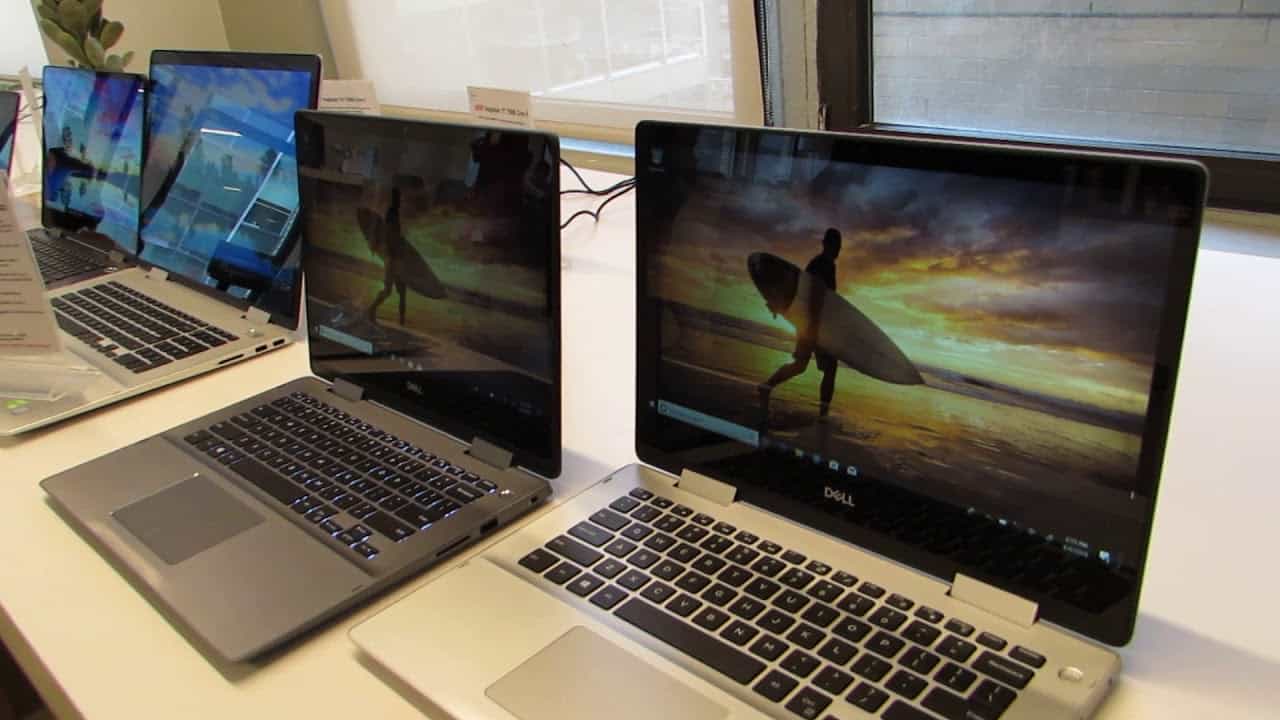
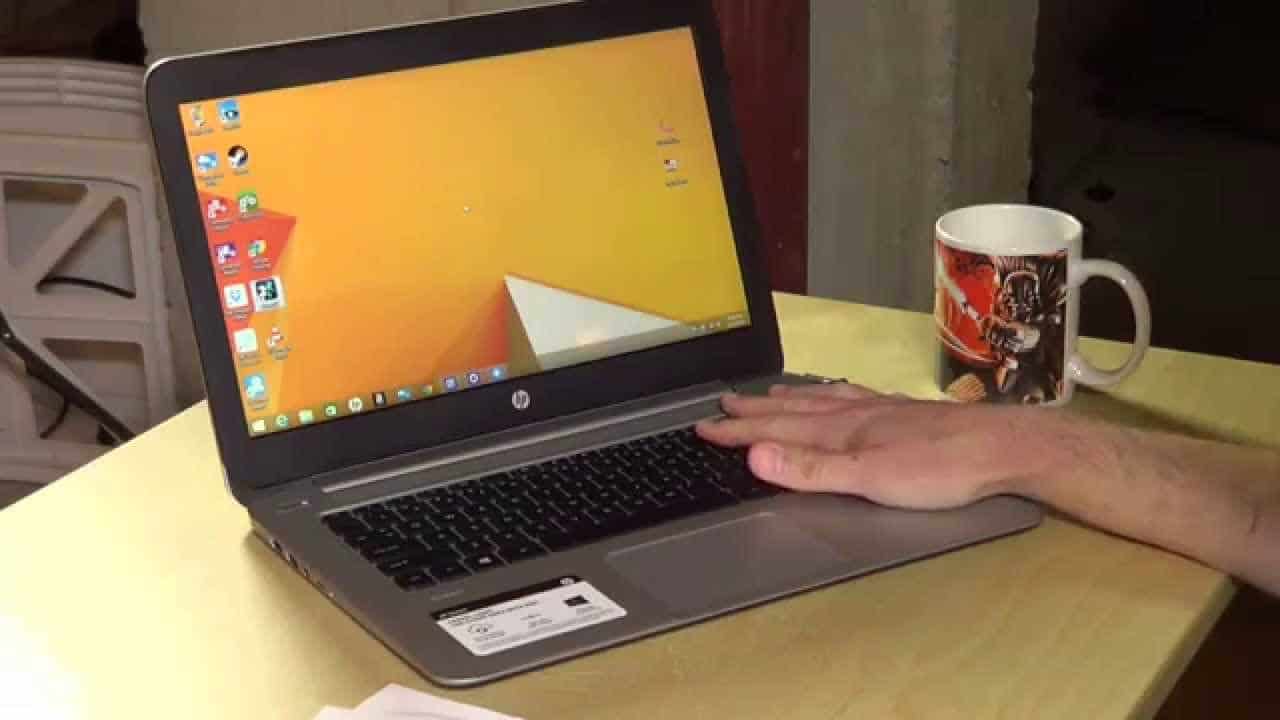
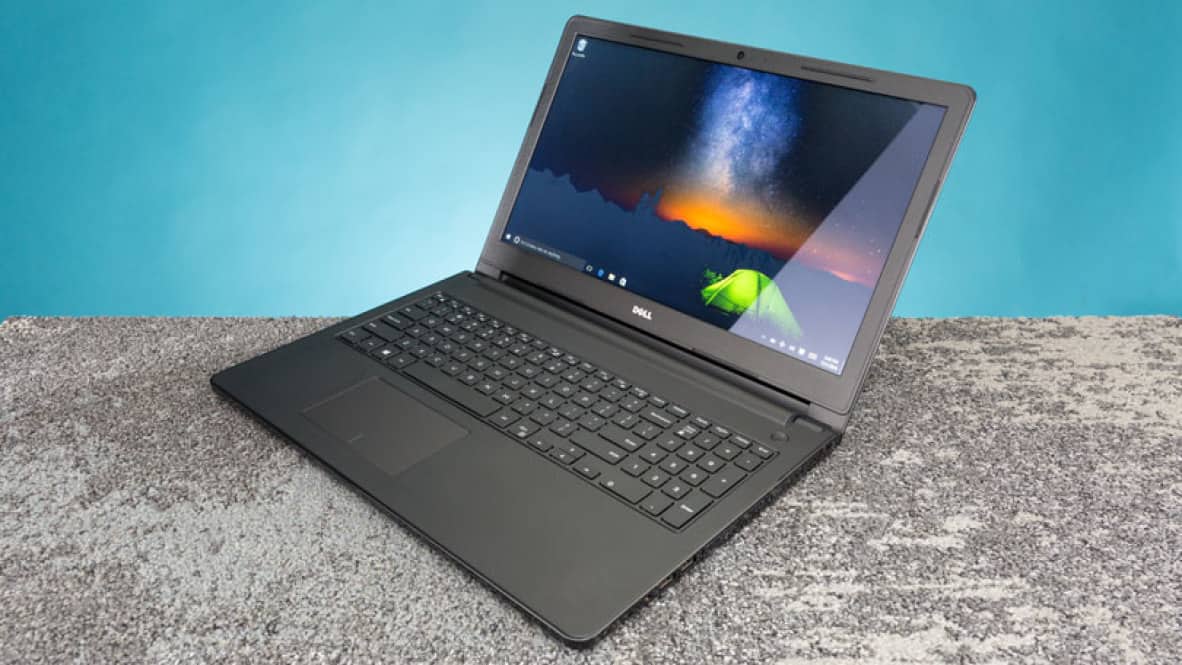
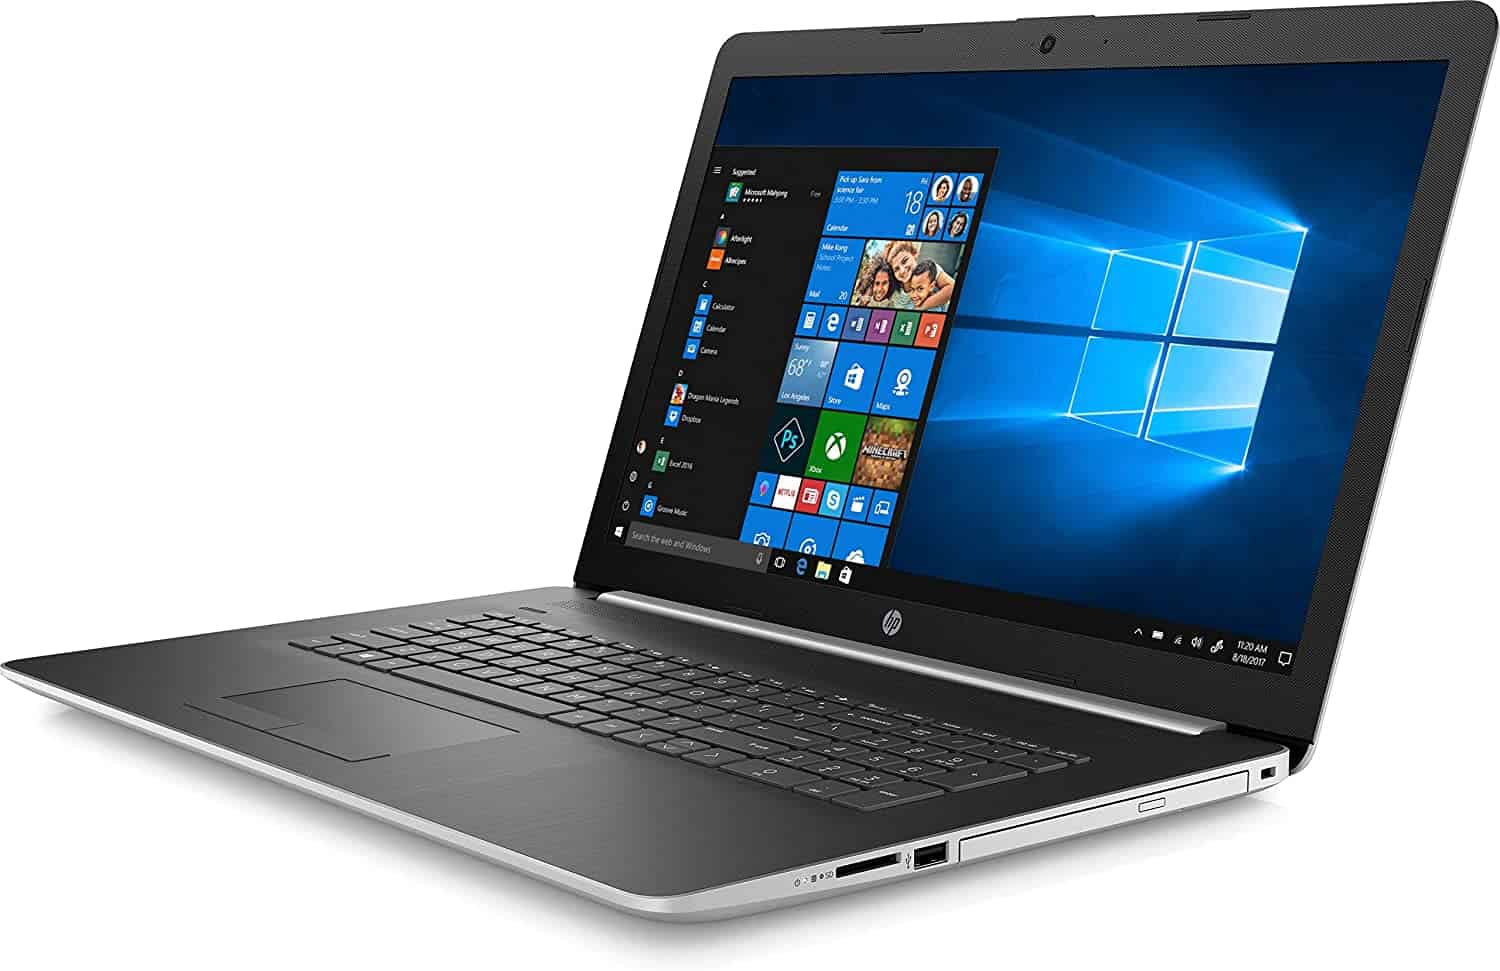
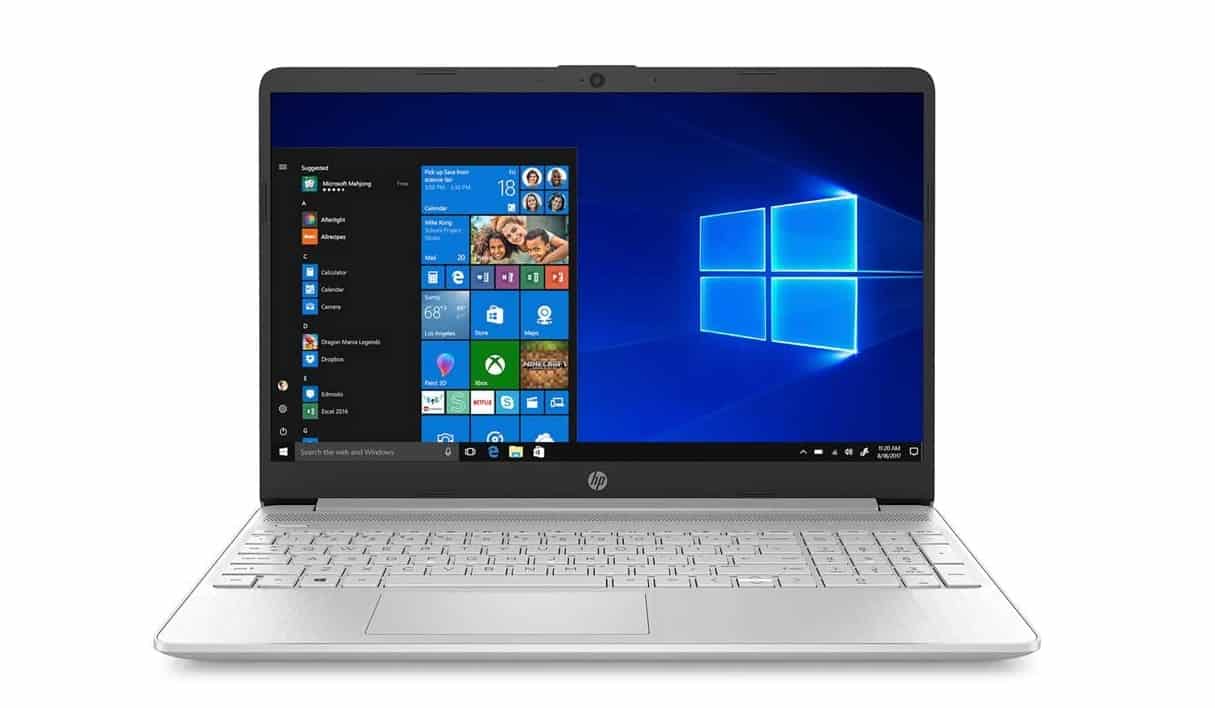
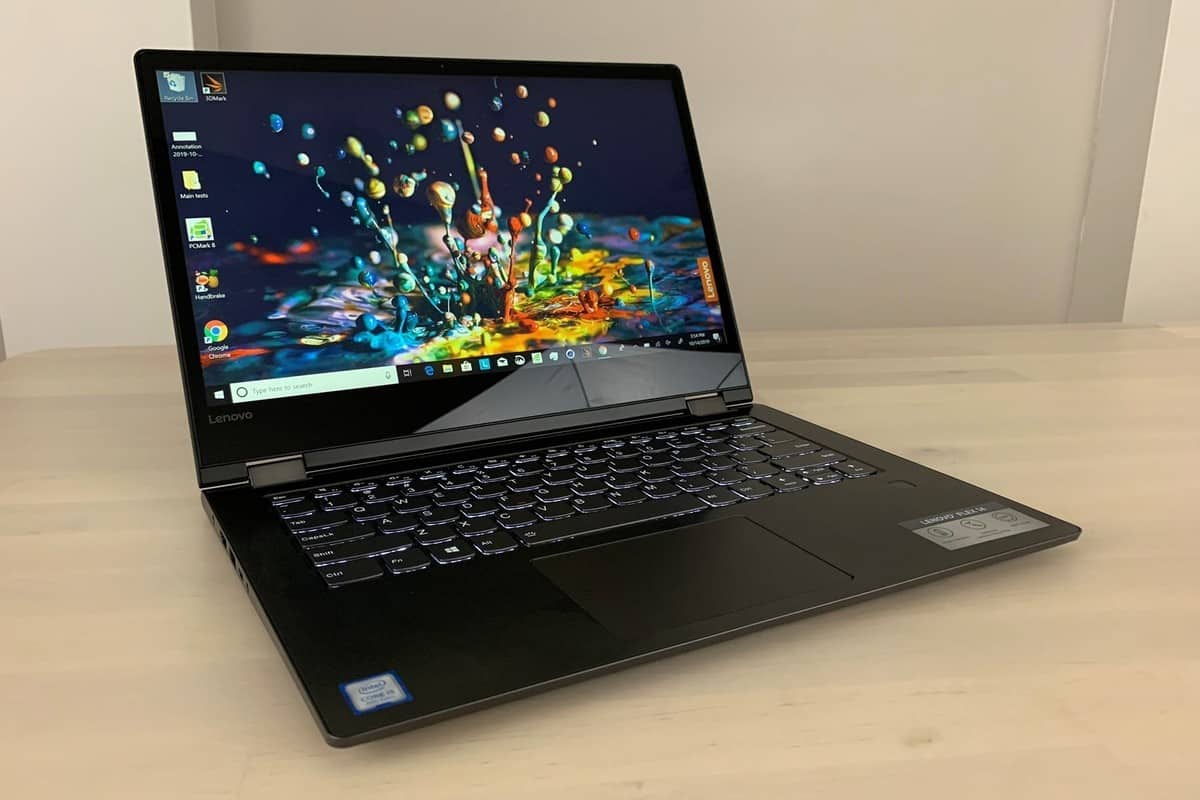
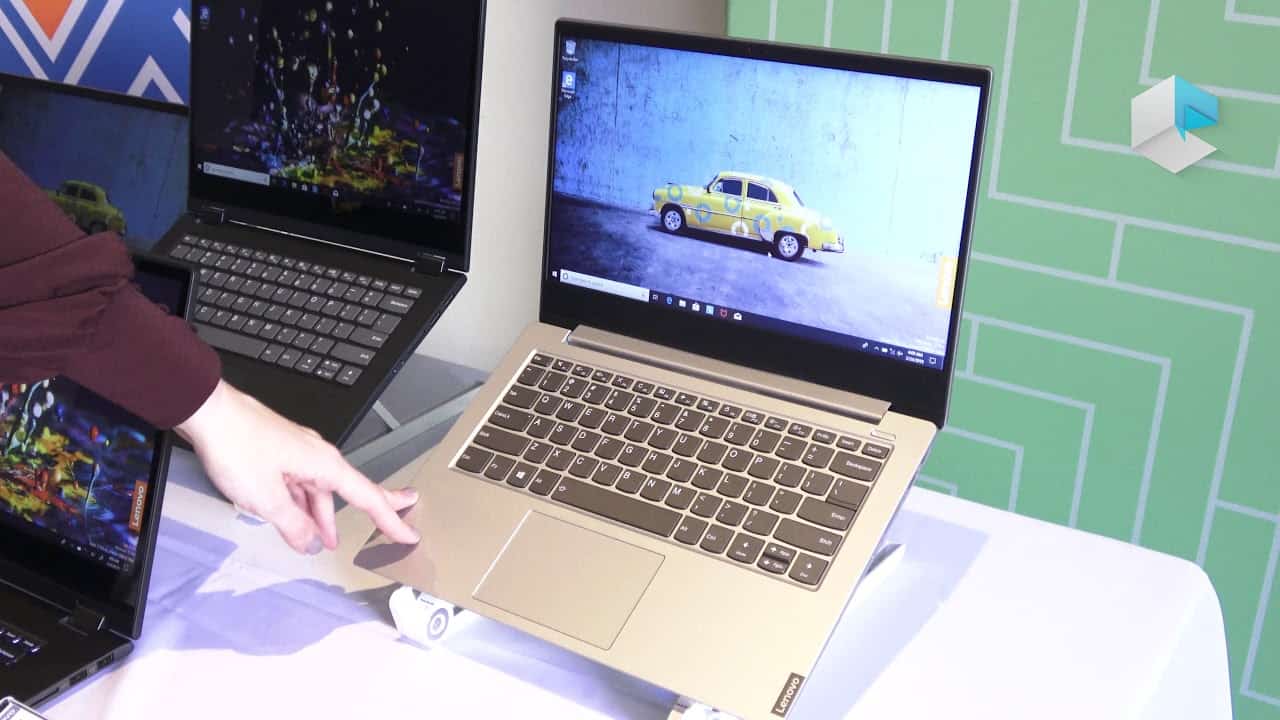
In normal conditions, Chrome OS is only available on Google-approved laptops sold by the likes of Toshiba, ASUS, and Dell. Many of which can be found on our list of best Chromebooks for 2016. Now however, the independent developer Neverware has made Chrome OS available to the masses thanks to their software called CloudReady. CloudReady allows you to install the open source version of Chrome OS (known as “Chromium) on almost any laptop, especially older models that you might have laying around in your closet that are already long forgotten.
Chromium is a very specific operating system built for a very specific type of computer, however, which is why it’s important to make sure you read every step of this guide to avoid any pitfalls or mistakes that lead to a bricked, flattened laptop without any OS to speak of.
Factors to Consider Before Installing
Check Your Laptop Model First: As we went over in the last section, CloudReady only has compatibility with a limited number of laptops and laptop models right now. Before doing anything, head on over to CloudReady’s updated list of Chromium-ready machines. If you don’t see the model of laptop you want to use on this list, you’ll have to either buy it separately or wait it out until Neverware has time to patch your system in.
Only Use a Laptop You’re Willing to Lose: Although recent builds of CloudReady and Chromium are far more stable than they used to be, there are still a lot of unseen bugs that could cause the whole system to crash at any moment. Don’t use a laptop that you need immediately available for work, and always have a backup just in case Chromium decides to go belly-up in the middle of your next big presentation at work.
Limited Functionality: As we mentioned in the intro, both Chrome OS and Chromium OS have come a long way in recent years, but given that Chromium is still open source and unstable, there are some caveats to using it over picking up a stock Chromebook instead. First, there’s the lack of updates. One of the biggest reasons some people choose a Chromebook over Windows is Chrome OS can be multitudes safer than Windows thanks to Google’s tight control over the app ecosystem. Chromium on the other hand is completely open source, which means that updates are fewer and farther between, and holes can stay open for longer between patches.
Read More: Chromebook vs. Laptop – Which is Right for You?
Next, Flash won’t work straight out of the box. You’re going to have to do a manual install of the media player once Chromium is loaded, which CloudReady will guide you through once the rest of the install process has completed.
Save All Your Important Files: Last, you need to know that in order to get the Chromium build stable, you’ll be formatting everything that’s currently on the laptop’s hard drive. This means if you have any important documents, photos, files or videos that you want saved and aren’t already stored on a local backup or in the cloud, be sure to offload them first. Nothing from your Windows machine will carry over to Chromium, so double-check to be certain that your laptop is completely clean of any rogue folders prior to installing your new OS.
Things You’ll Need
CloudReady Installer: First there’s the most obvious piece to the puzzle, the CloudReady .bin file. This is the program that will allow you to mount your Chromium installation, and you can download it for free from Neverware’s site located here.
An 8GB or 16GB USB Thumbstick: Next, you’ll need a clean USB flash drive to port the installation to. CloudReady hasn’t said anything about why it has to be exactly either an 8GB or 16GB stick, but say that users may experience unforeseen problems if they deviate from either one of those two choices.
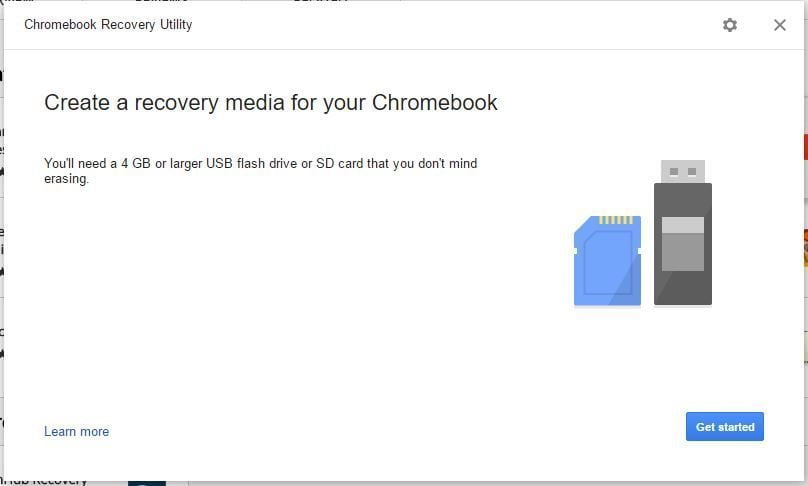
Chromebook Recovery Utility: Last, download a copy of the Chromebook Recovery Utility, which is how you’ll actually create a USB stick that your laptop recognizes as a bootable image to install from.
Installing CloudReady
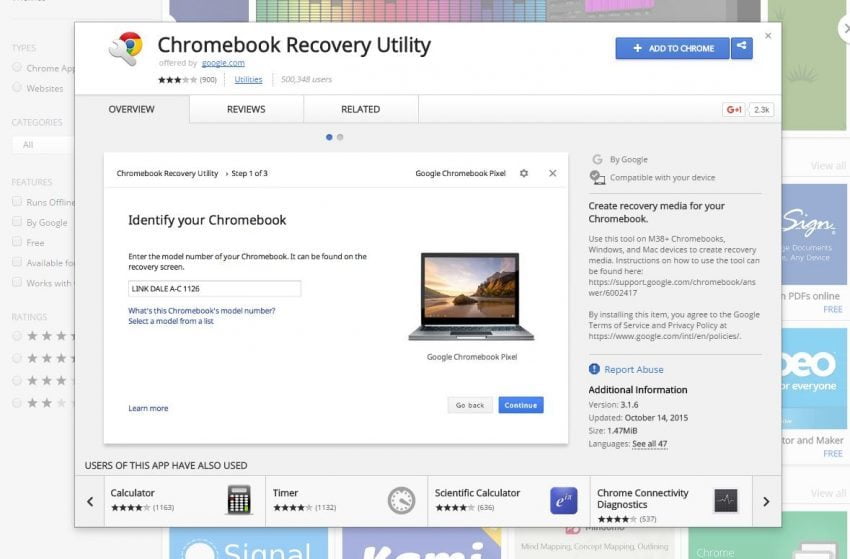
Once you have all your ducks in a row, it’s time to install Cloud Ready and Chromium on your laptop.
- Start by launching the Chromebook Recovery Utility, which you downloaded from the link above.
- Clicking on the “Settings” gear icon after it launches, found in the top-right corner.
- Choose “Use local image” from the menu that appears.
- Find the CloudReady .bin file in the folder where you downloaded it previously.
- Insert the 8GB or 16GB USB drive.
- Choose the USB drive you want to use from the left side of the Chrome Recovery Utility window.
- Click “Continue” and “Create Now”
Now that your USB is primed, it’s time to start the installation on the machine you want to turn into a Chrome OS box. Again, remember to backup or save any important files, then power the computer down. Plug in the USB, and when it powers back up look for the command in the BIOS startup screen that controls your boot order (often this is either F8, F12, or Delete depending on the make and model).
Once you have access to the boot menu, find the USB stick and launch from it.
From here, you’ll have the option to actually play around with a mock version of Chromium OS before taking the plunge.
- Once you’re ready to actually get Chromium installed, click on the clock icon in the bottom-right corner of the CloudReady window that you saw during the initial boot.
- The next screen will have a button that says “Install CloudReady”.
- After confirming that you’re positive you want to wipe the laptop and install Chromium, click the “Erase & Install” button.
The installation may take anywhere between 10 and 30 minutes, depending on the speed of your computer. Once the install is finished the laptop will automatically reboot, and you’re ready to use Chromium on your old laptop!
If you want to find out what you can really do with Chrome OS to make it yours, head on over to our article on the 5 Best Chromebook Apps you can install to maximize your user experience.






![Best Tablets in [year] ([month] Reviews) 29 Best Tablets in 2025 (April Reviews)](https://www.gadgetreview.dev/wp-content/uploads/best-tablets-image.jpg)
![Best Ultrabook in [year] ([month] Reviews) 30 Best Ultrabook in 2025 (April Reviews)](https://www.gadgetreview.dev/wp-content/uploads/ASUS-ZenBook-14-e1567561404912-900x792-1.jpg)
![Best BenQ Monitors in [year] 31 Best BenQ Monitors in 2025](https://www.gadgetreview.dev/wp-content/uploads/best-benq-monitor-image.jpg)
![Best Windows Laptop in [year] ([month] Reviews) 32 Best Windows Laptop in 2025 (April Reviews)](https://www.gadgetreview.dev/wp-content/uploads/best-windows-laptop-image.jpg)
![Best Chromebook in [year] ([month] Reviews) 33 Best Chromebook in 2025 (April Reviews)](https://www.gadgetreview.dev/wp-content/uploads/ASUS-C302-Flip-Best-Chromebook-1-scaled.jpg)
![Best Apple Laptops in [year] ([month] Reviews) 34 Best Apple Laptops in 2025 (April Reviews)](https://www.gadgetreview.dev/wp-content/uploads/best-apple-laptop-image.jpg)
![Best Android Tablets in [year] ([month] Reviews) 35 Best Android Tablets in 2025 (April Reviews)](https://www.gadgetreview.dev/wp-content/uploads/best-android-tablets-image.jpg)
![Best Laptops in [year] ([month] Reviews) 36 Best Laptops in 2025 (April Reviews)](https://www.gadgetreview.dev/wp-content/uploads/microsoft-surface-book.jpg)
![Best iPads in [year] ([month] Reviews) 37 Best iPads in 2025 (April Reviews)](https://www.gadgetreview.dev/wp-content/uploads/Best-iPad-image.jpg)
![Best Gaming Laptops in [year] ([month] Reviews) 38 Best Gaming Laptops in 2025 (April Reviews)](https://www.gadgetreview.dev/wp-content/uploads/Dell-Inspiron-i7559-Gaming-Laptop-1-900x707-2.jpg)
![10 Best Chinese Tablets in [year] 39 10 Best Chinese Tablets in 2025](https://www.gadgetreview.dev/wp-content/uploads/Best-Chinese-Tablet.jpeg)
![10 Best Drawing Tablets in [year] 40 10 Best Drawing Tablets in 2025](https://www.gadgetreview.dev/wp-content/uploads/Best-Drawing-Tablet.jpg)
![10 Best Laptops for Sims 4 in [year] 41 10 Best Laptops for Sims 4 in 2025](https://www.gadgetreview.dev/wp-content/uploads/best-laptop-for-sims-4.jpg)
![10 Best Tablets for Reading in [year] 42 10 Best Tablets for Reading in 2025](https://www.gadgetreview.dev/wp-content/uploads/Best-Tab-for-Reading.jpg)
![10 Best Gaming Tablets in [year] 43 10 Best Gaming Tablets in 2025](https://www.gadgetreview.dev/wp-content/uploads/Best-Gaming-Tablet.jpg)
![10 Best Tablets for Travel in [year] 44 10 Best Tablets for Travel in 2025](https://www.gadgetreview.dev/wp-content/uploads/Best-Tablet-for-Travel.jpg)
